HTB Machine - Keeper [ENGLISH]

Introduction
Despite already having some knowledge, for several months I have decided to start studying the modules offered by Hack The Box Academy, from the most basic concepts to the more complex ones, following all the content provided by each module. There are over 30 theory and practice modules, and of course, I haven’t completed them all yet, partly because new ones are released at least once a month, and they may require a certain level of commitment and time to complete.
After studying and completing a certain number of modules, I decided to dive into the CTFs (Capture The Flag challenges) offered by HTB, starting with the Starting Points (mini CTFs for introductory purposes).
“pwning” these simple machines has given me that extra awareness to move on to something a bit more complex. So, I began with one of the first machines freely accessible from the HTB platform, namely Keeper.
For those not familiar with the field, I will try to make it as accessible as possible, but it will require some patience to read and try to understand. I won’t explain what each tool is used for and how to use it, as that would require an entire course.
Welcome to this walkthrough!
Keeper
I have never done CTF, and although I have always been curious about it, I have never gotten into it. HTB just gives you an IP address (e.g., 10.11.8.217), and then leaves it to you, of course, to get the flags for the user account and root.
There are no hints or anything, you are free to proceed as you wish, you can help yourself by googling or, simply, using man for tools (provided you need something specifically).
To connect to HTB’s infrastructure and start playing games, a .ovpn key is provided, and through it you can connect to the dedicated VPN server:
1
sudo openvpn /path/to/key/lab.ovpn
Once connected, we can safely access the above IP address:
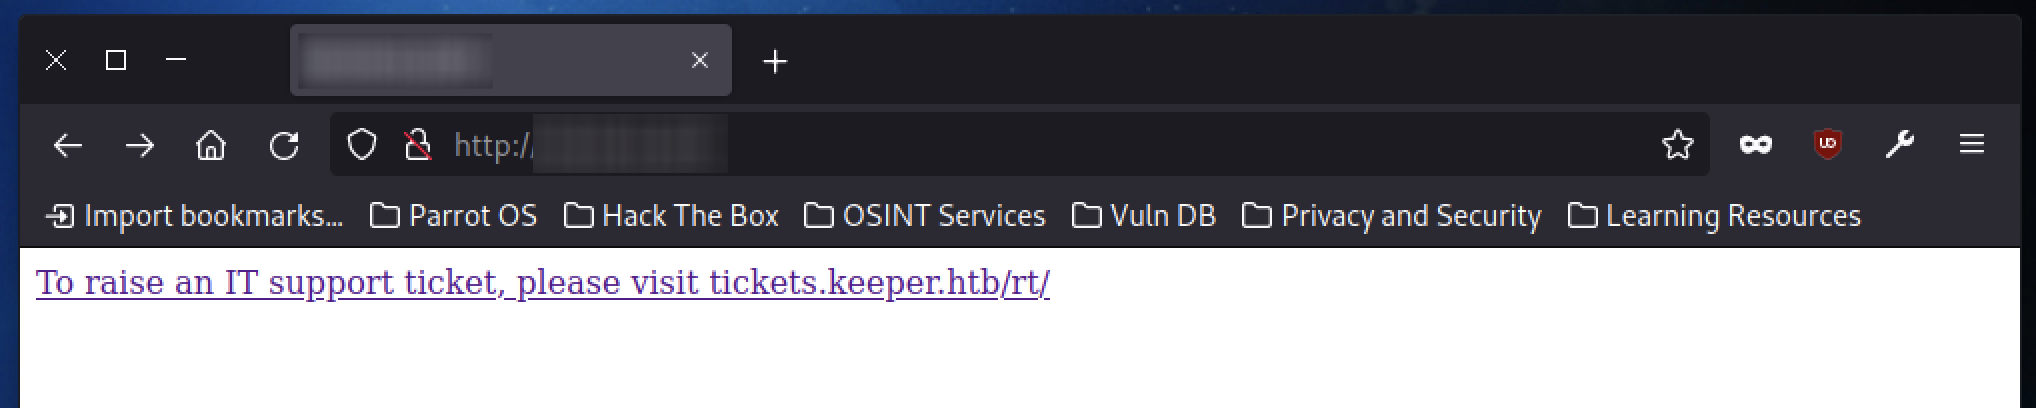
We already notice something, a link with the following sentence:
“To raise an IT support ticket, please visit tickets.keeper.htb/rt/”.
Clicking on it, however, fails to display the supposed website specified just before.
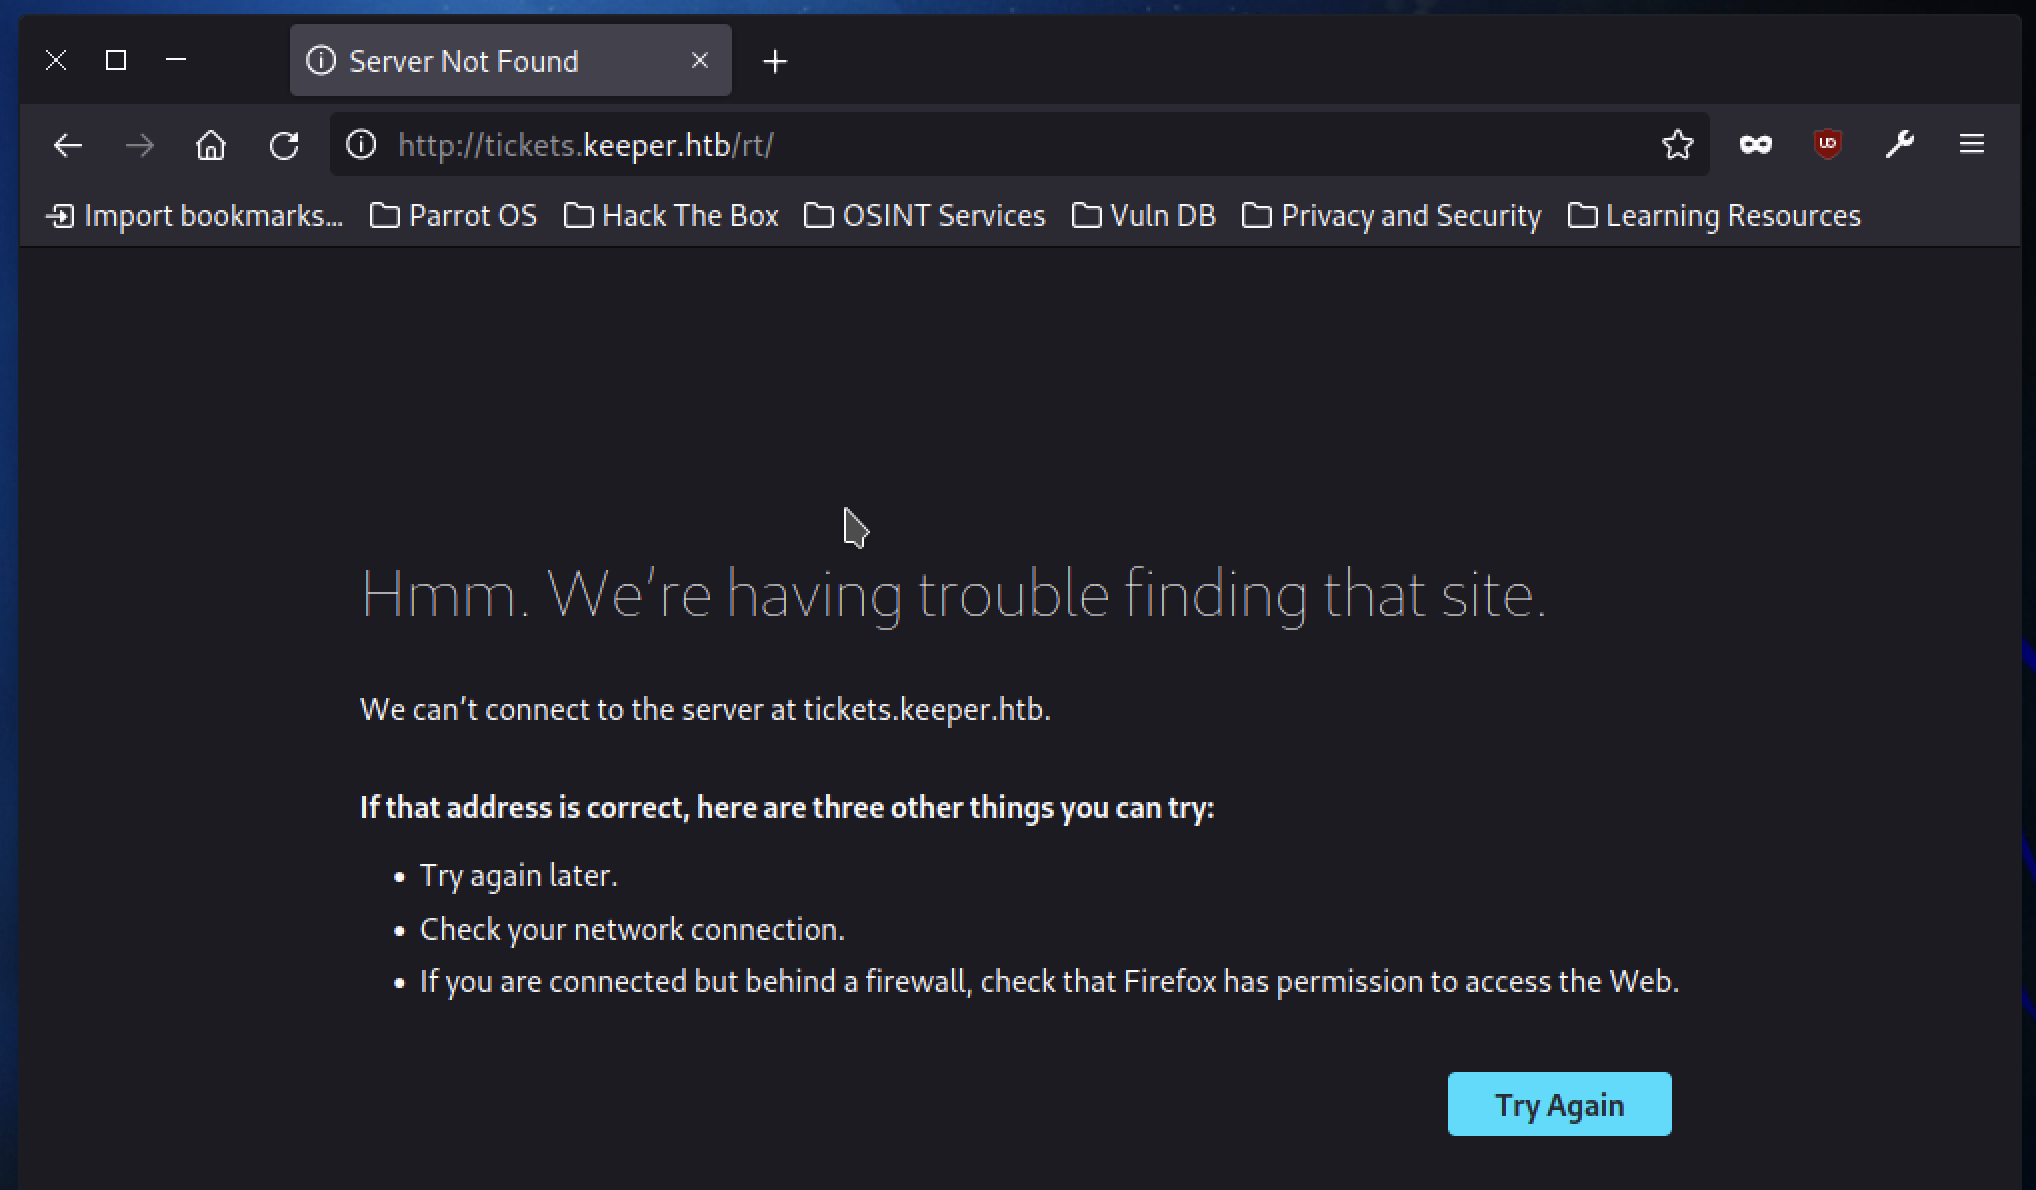
The address is right, why can’t we see it?.
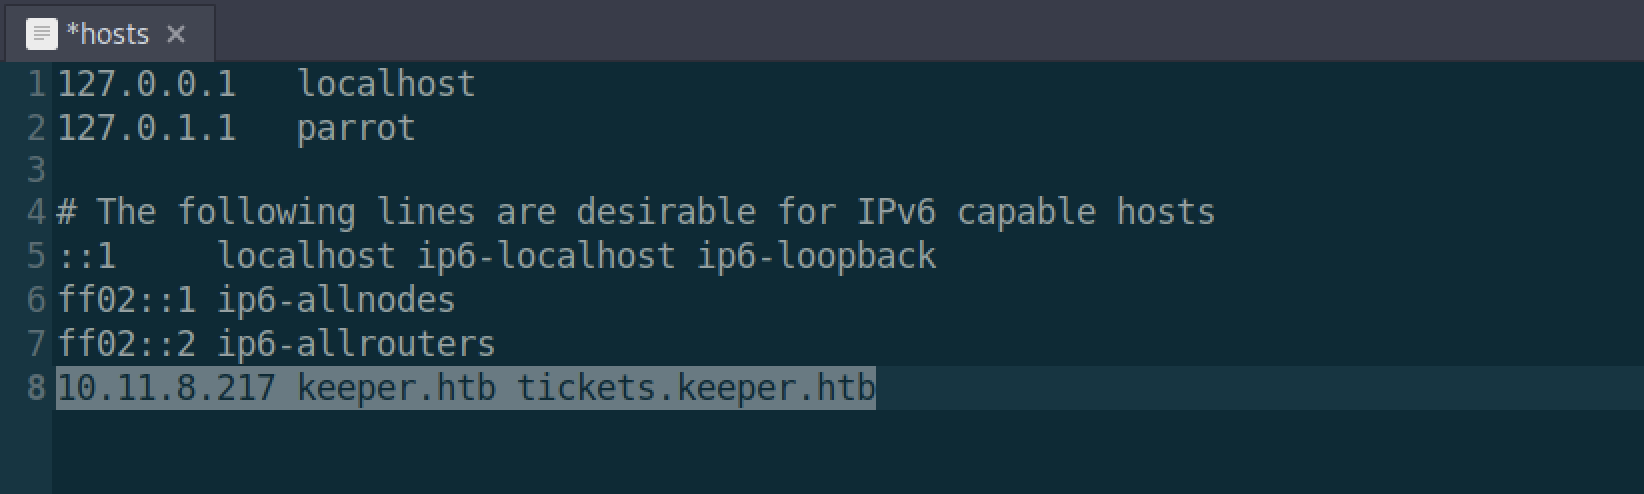
The answer lies in the file /etc/hosts. This file allows our local computer to connect to a domain with a specific address and has several use cases but is usually used for reasons of redirecting or blocking web sites.
We, however, know both the IP address and the domain name, so we could trivially…
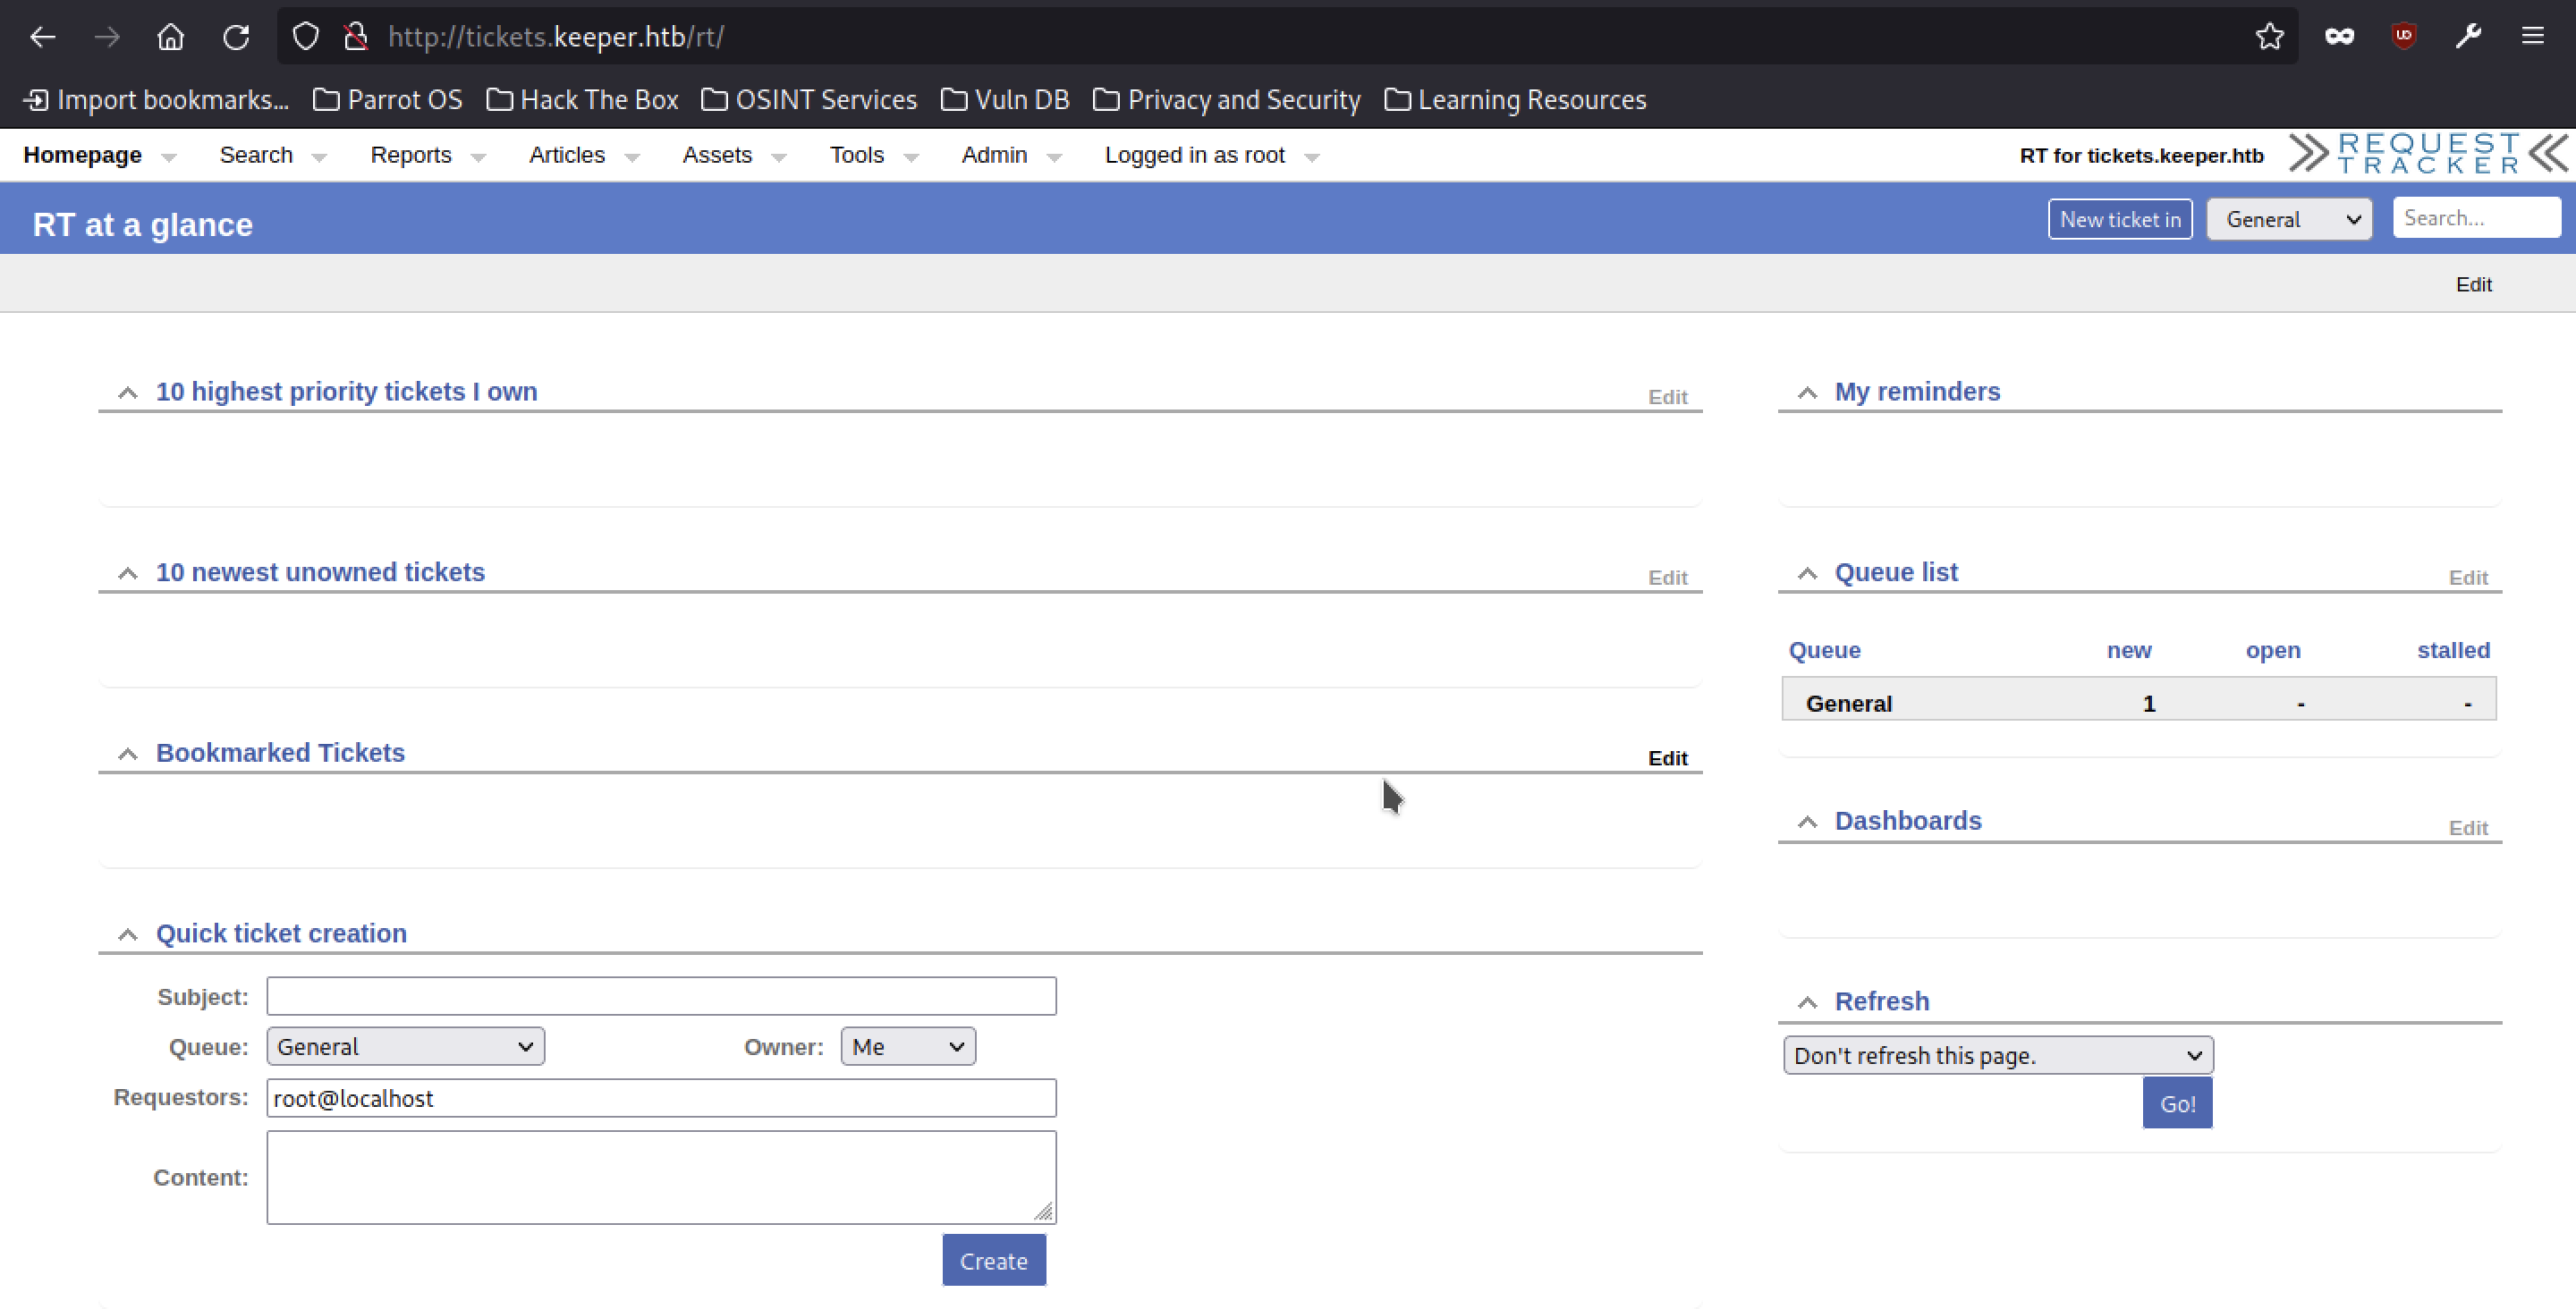
In fact, if we go back to Firefox, we can finally view the website:
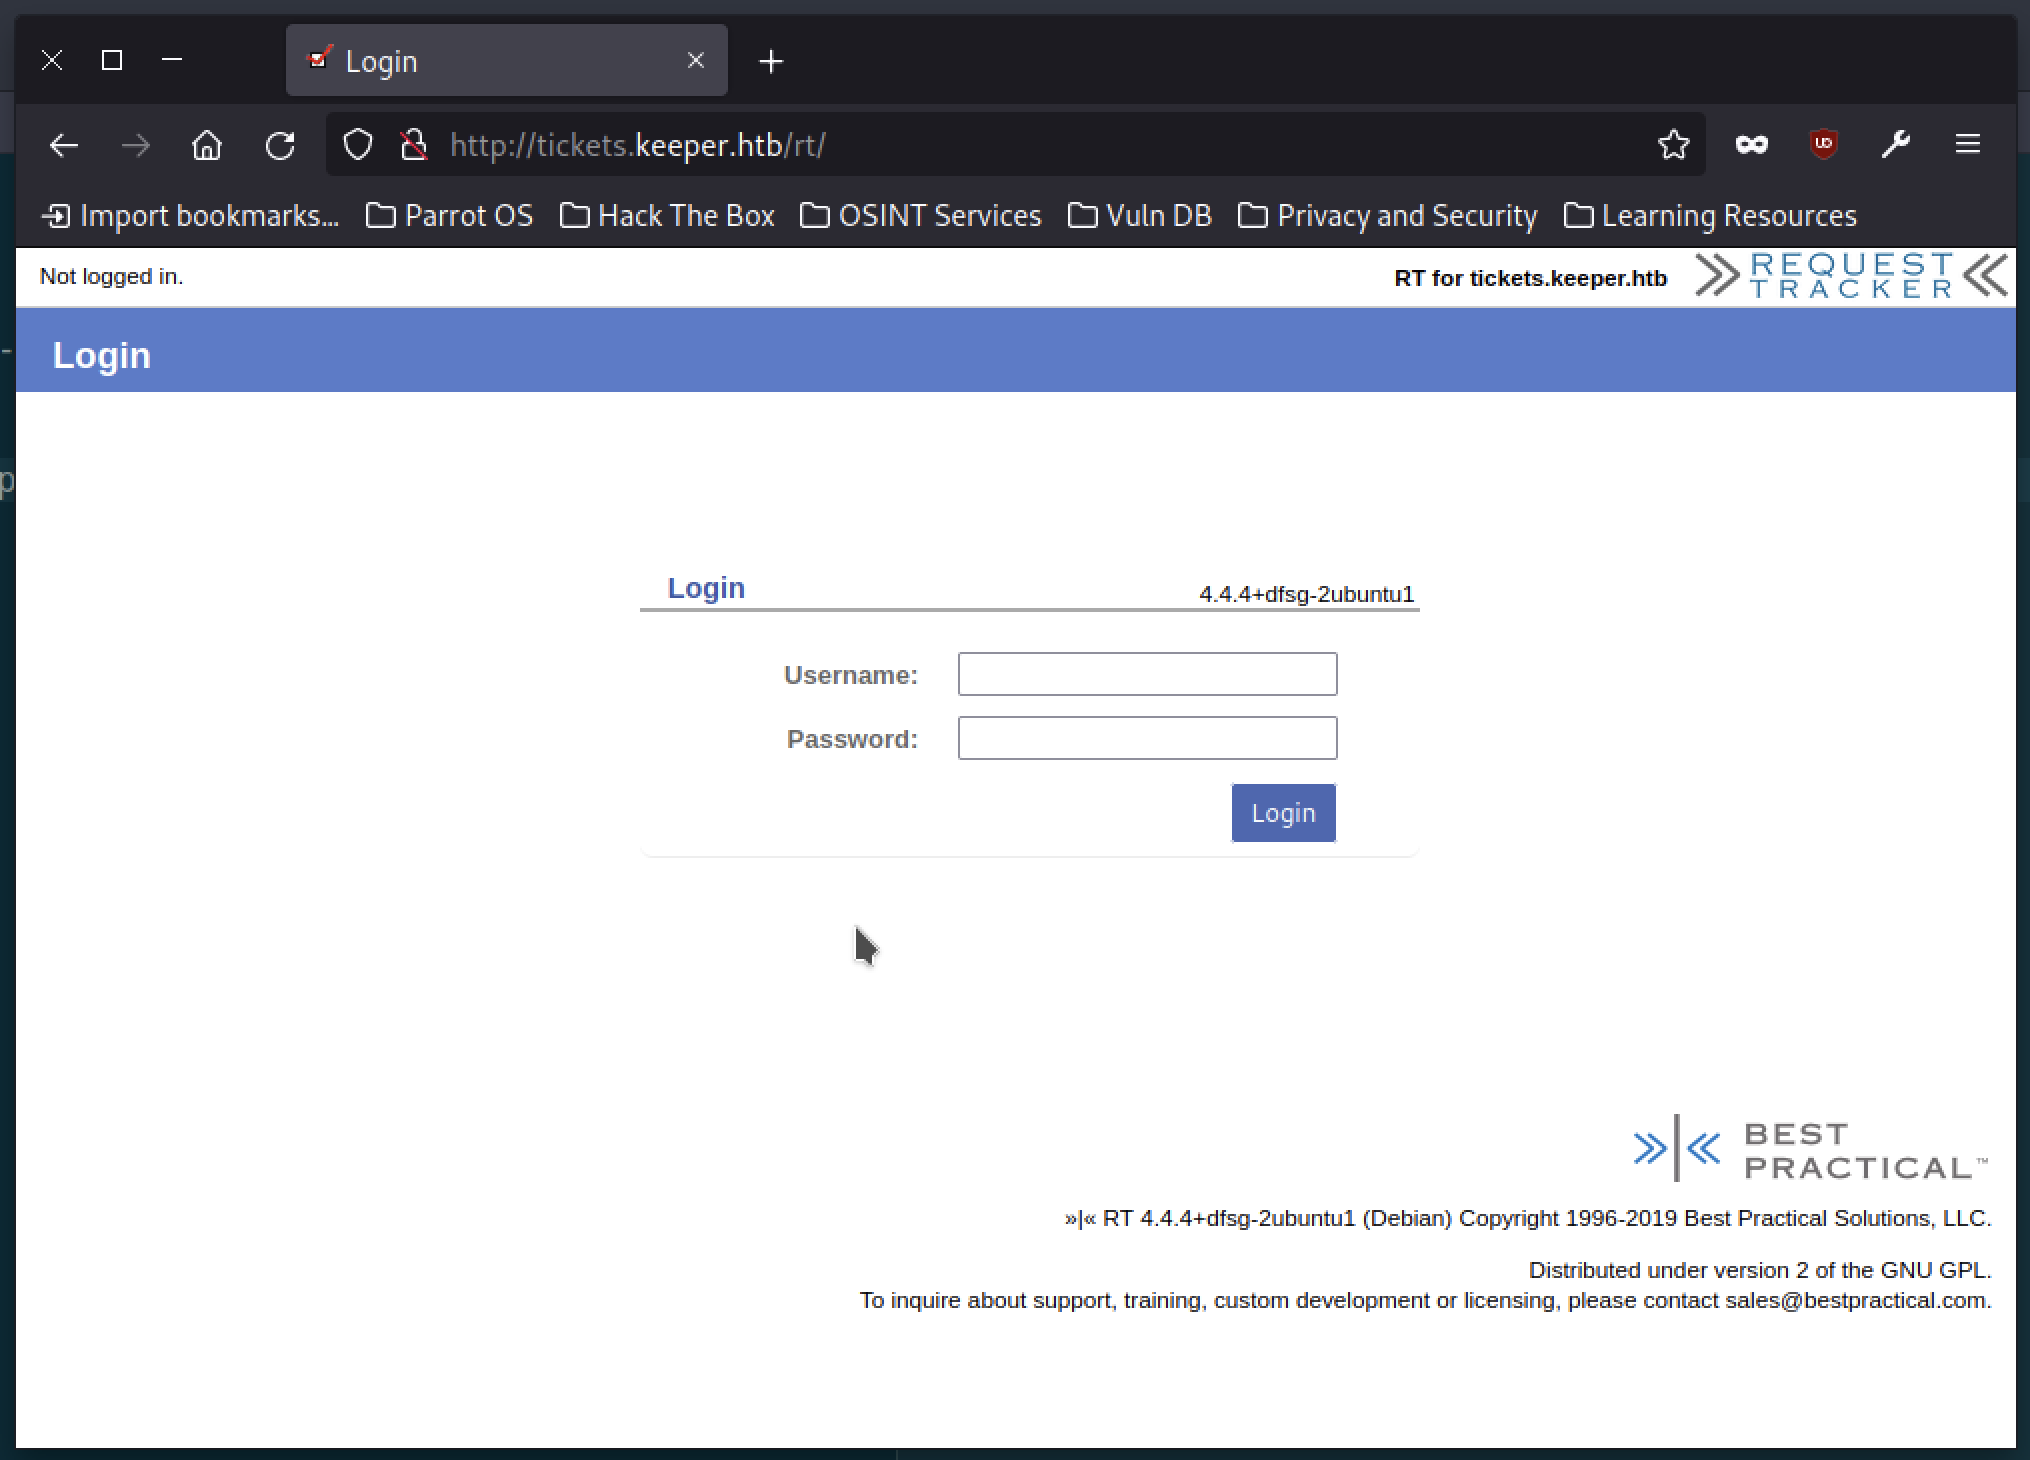
It is presented to us as a kind of management system and, doing a brief Google search, in version 4.4.4 this Request Tracker is defined by GitHub, precisely as a
“enterprise-grade issue tracking system. It allows organizations to keep track of what needs to get done, who is working on which tasks, what’s already been done, and when tasks were (or weren’t) completed. “
There is little to add. It is likely that one or both of the flags will be within this platform or at least contain clues that will lead us to find them.
At first glance, a few options come to mind:
use
nmapand see what services are hiding behind this server. Maybe one of them has some vulnerability or will tell me something.brute-forcing the login page we just saw. I will potentially need two tools,
burpsuiteandhydra.
Output of nmap
Let’s do a first scan of the server using nmap:
1
nmap -sV 10.11.8.217 -p 1-10000
The IP address above is just an example.
This way we should be able to see most if not all of the active services on the machine:
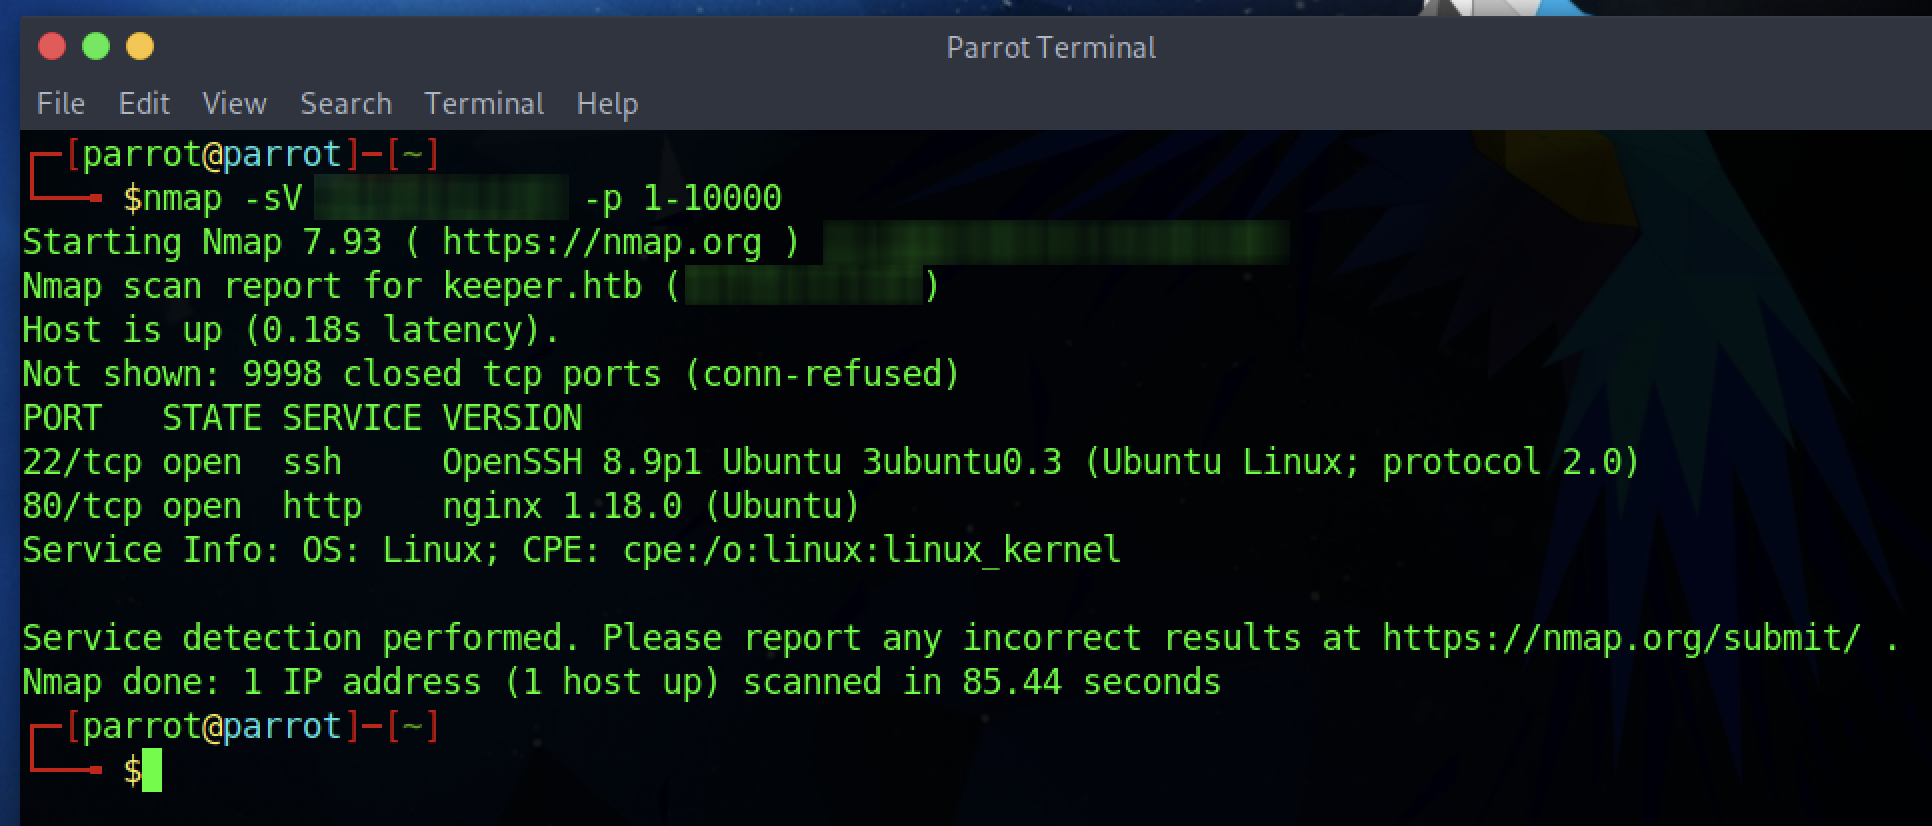
Apparently we obviously have the web server (nginx 1.18.0) on port 80 and port 22 open. Theoretically we could access the server via SSH. So, if we were to find a password within the management (currently the only way to go), it could help us in accessing the server.
Login brute forcing
Doing brute-force is a practice that is normally discouraged, it is unlikely to give the desired result, but nothing prohibits us from giving it a try anyway.
And to make that attempt, we would need BurpSuite (personally I just need the Community Edition, the free one) to figure out what parameters to use during the POST request and the Hydra tool to perform the attack.
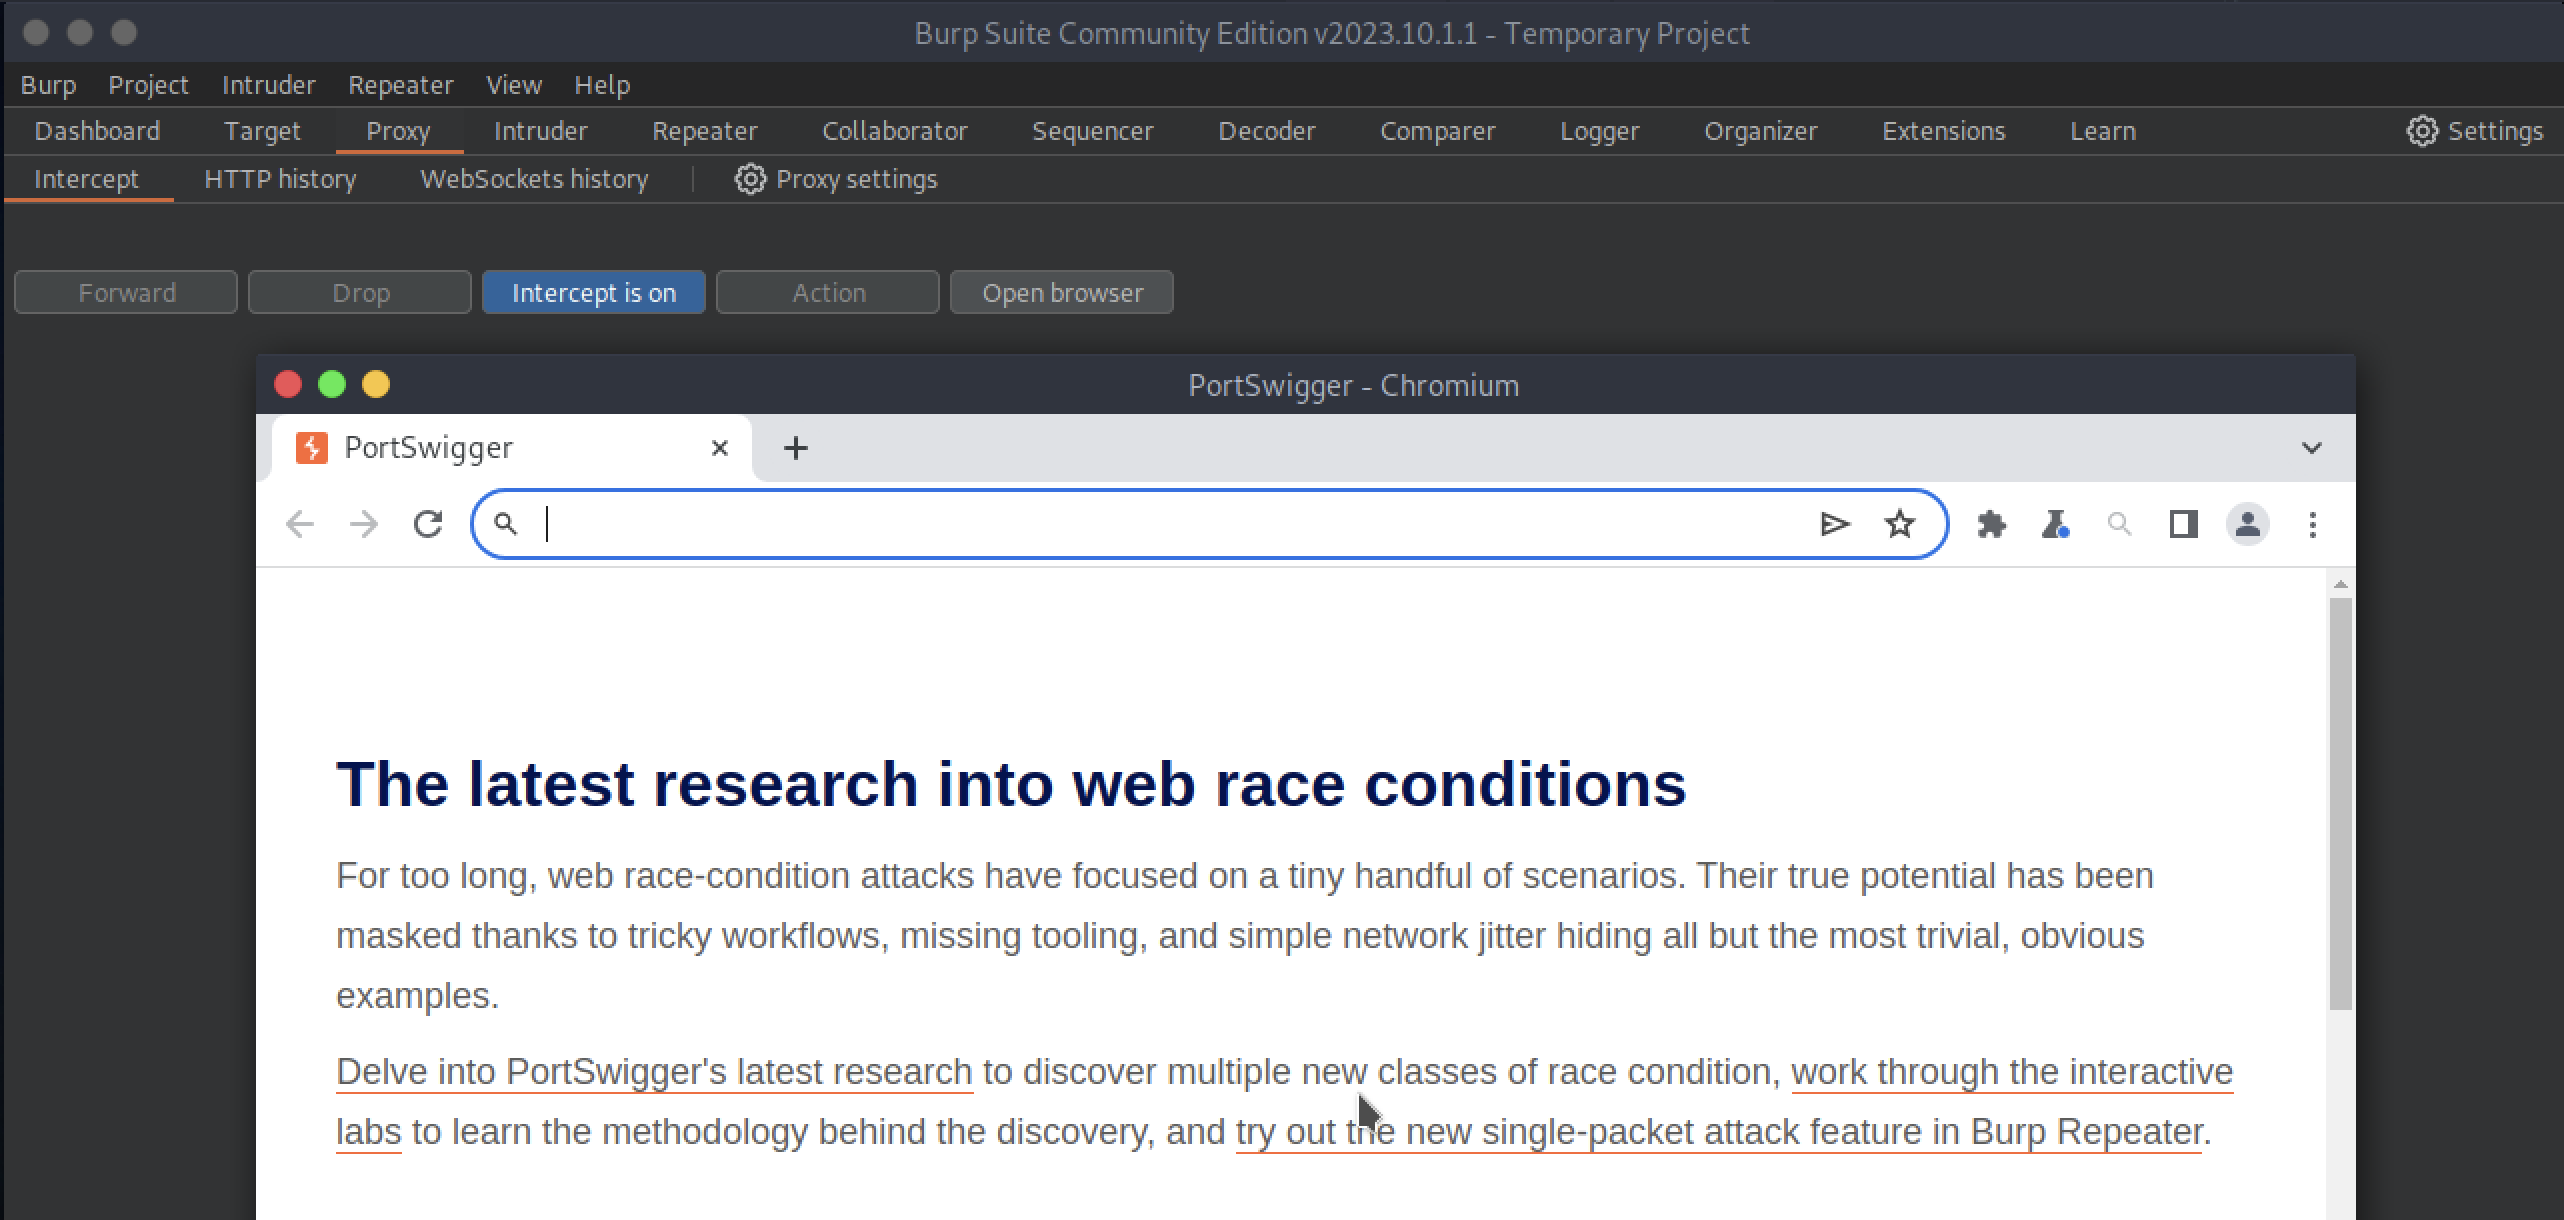
On ParrotOS I am using the most recent version at the moment, 2023.10.11, but even with earlier versions there will be no problem. So let’s start BurpSuite with the default configurations and go to the Proxy tab, here we press on “Intercept is off” to start it and then open the built-in browser by clicking on “Open browser”.
 We enter the URL previously provided into the address bar, i.e.: http://tickets.keeper.htb/rt/

And we’re going to hit “Forward” to forward the GET request and have the web page rendered. Then we go to the login form, and try to enter some random data, maybe the classic admin as the username and admin as the password. At the moment we don’t care if they are right or wrong, remember that we are interested in figuring out what parameters are being used by the form, although we might see them by inspecting the web page.
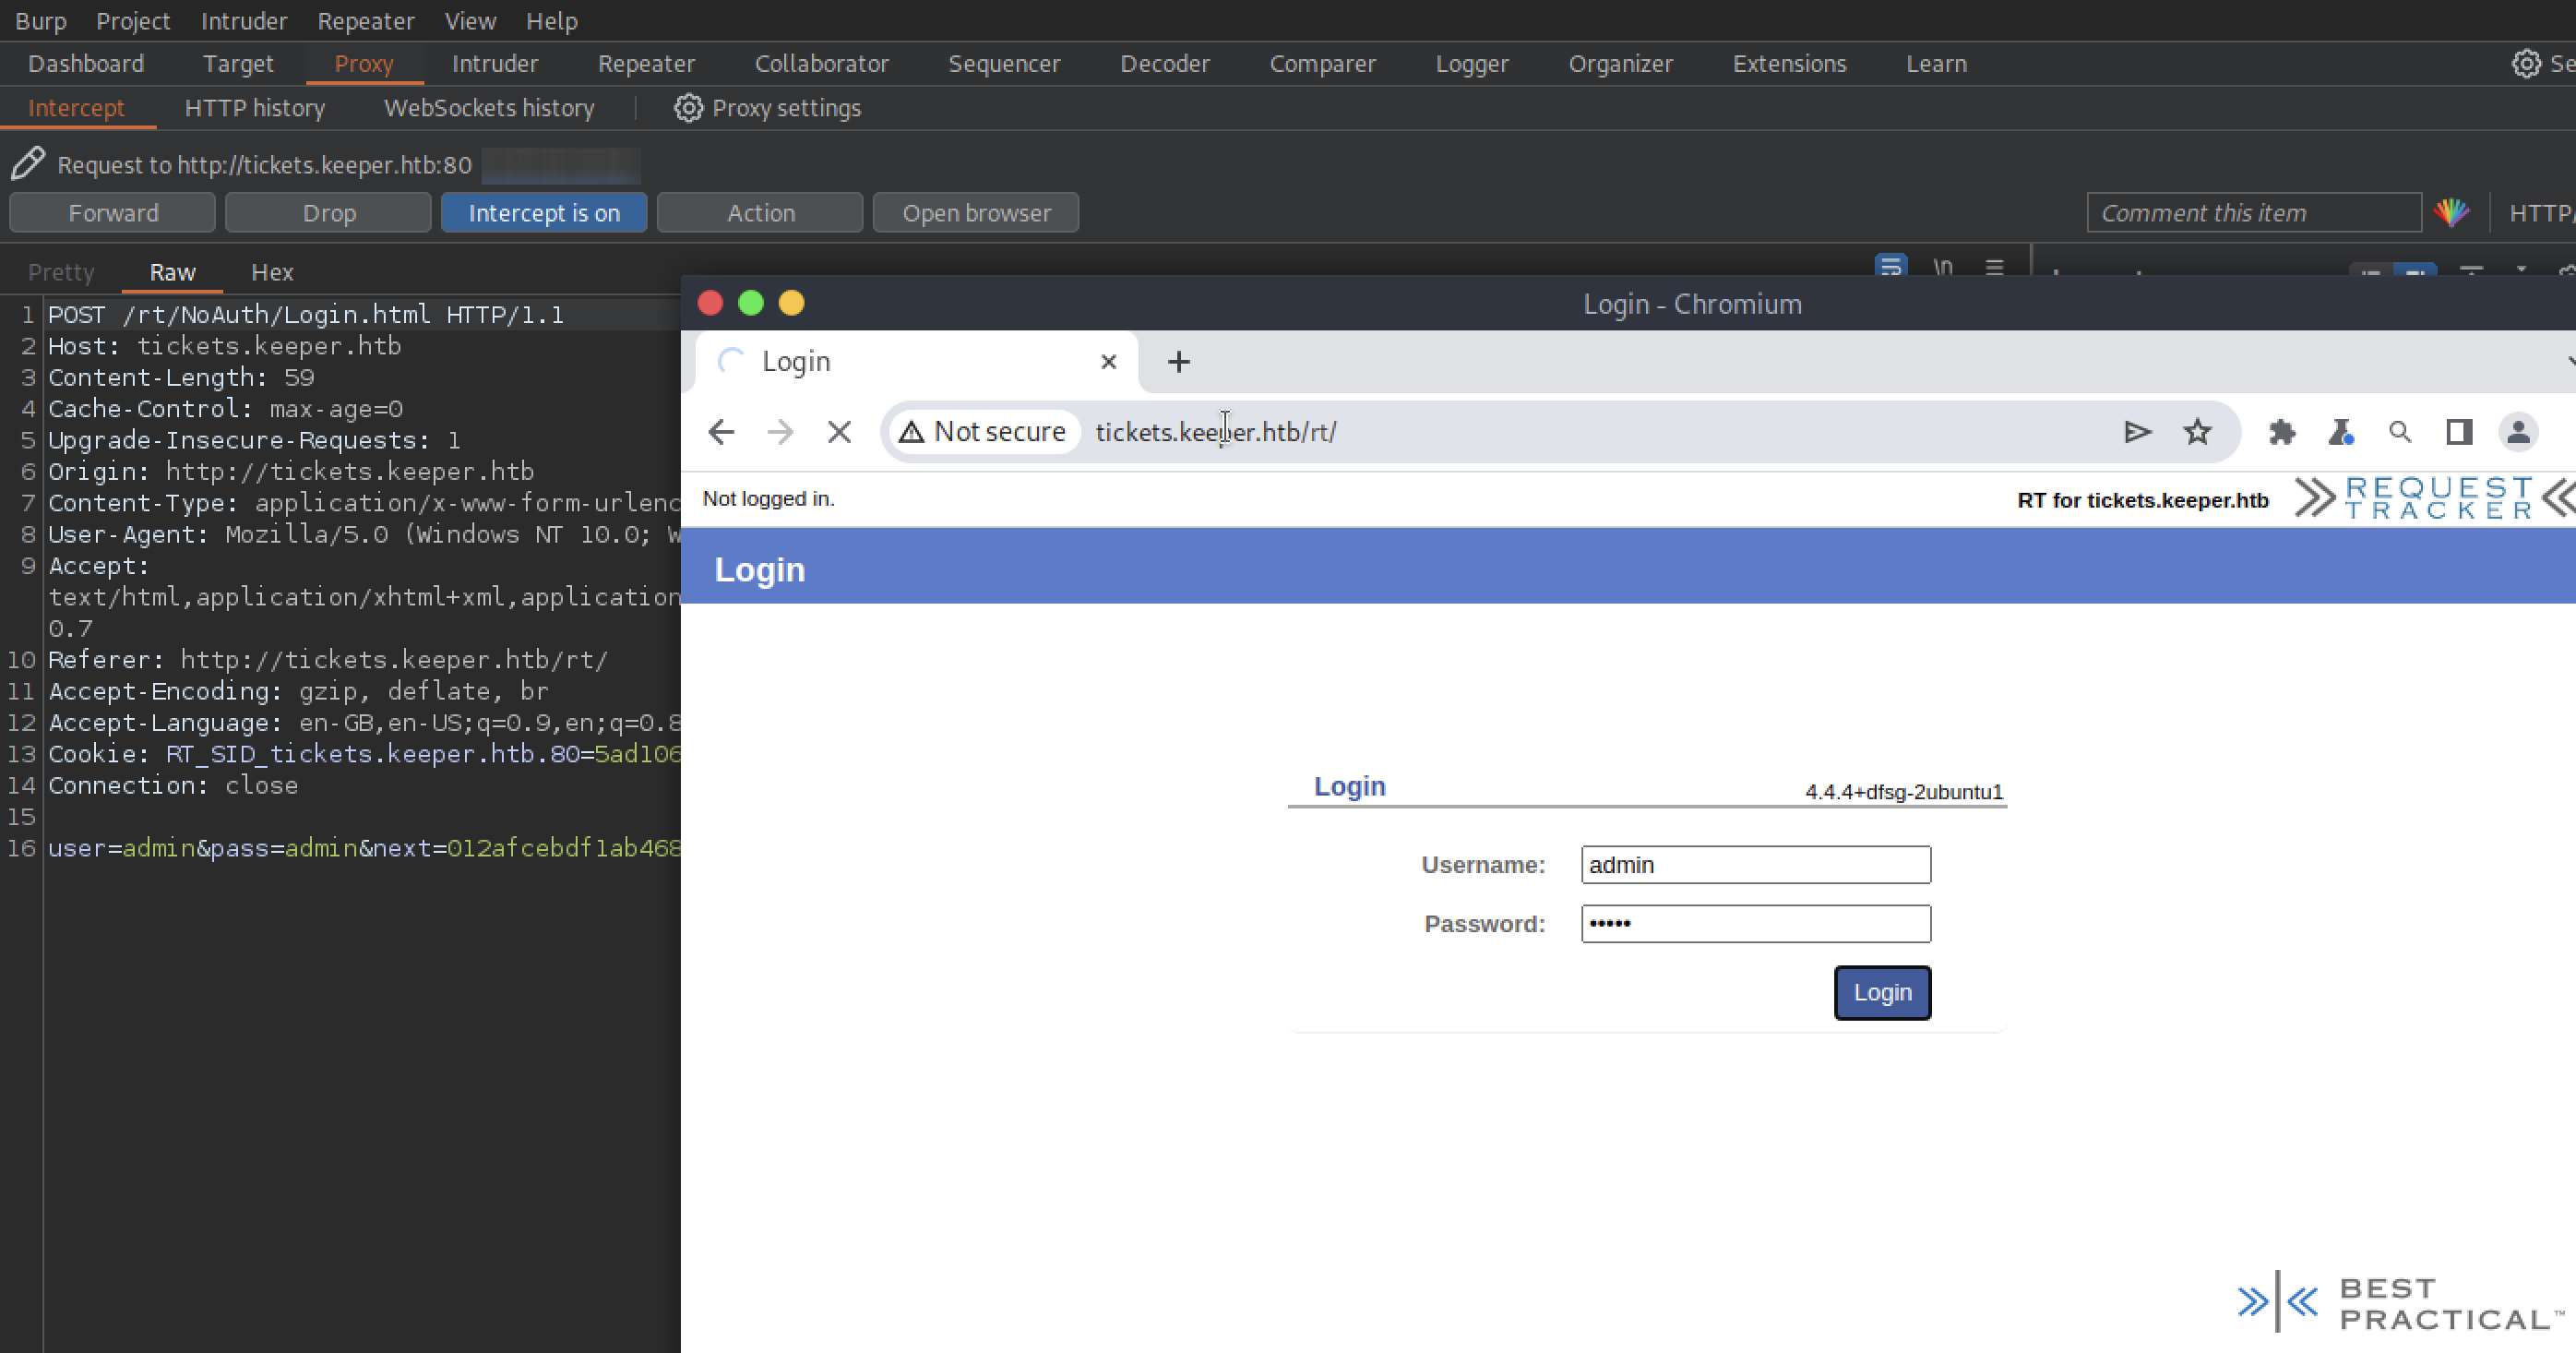
BurpSuite tells us that a POST request is made to /rt/NoAuth/Login.html and for the form, parameters such as user and pass as well as next (which I could interpret as a cookie) are trivially used.
So, let’s go ahead and submit the request.
 .
.
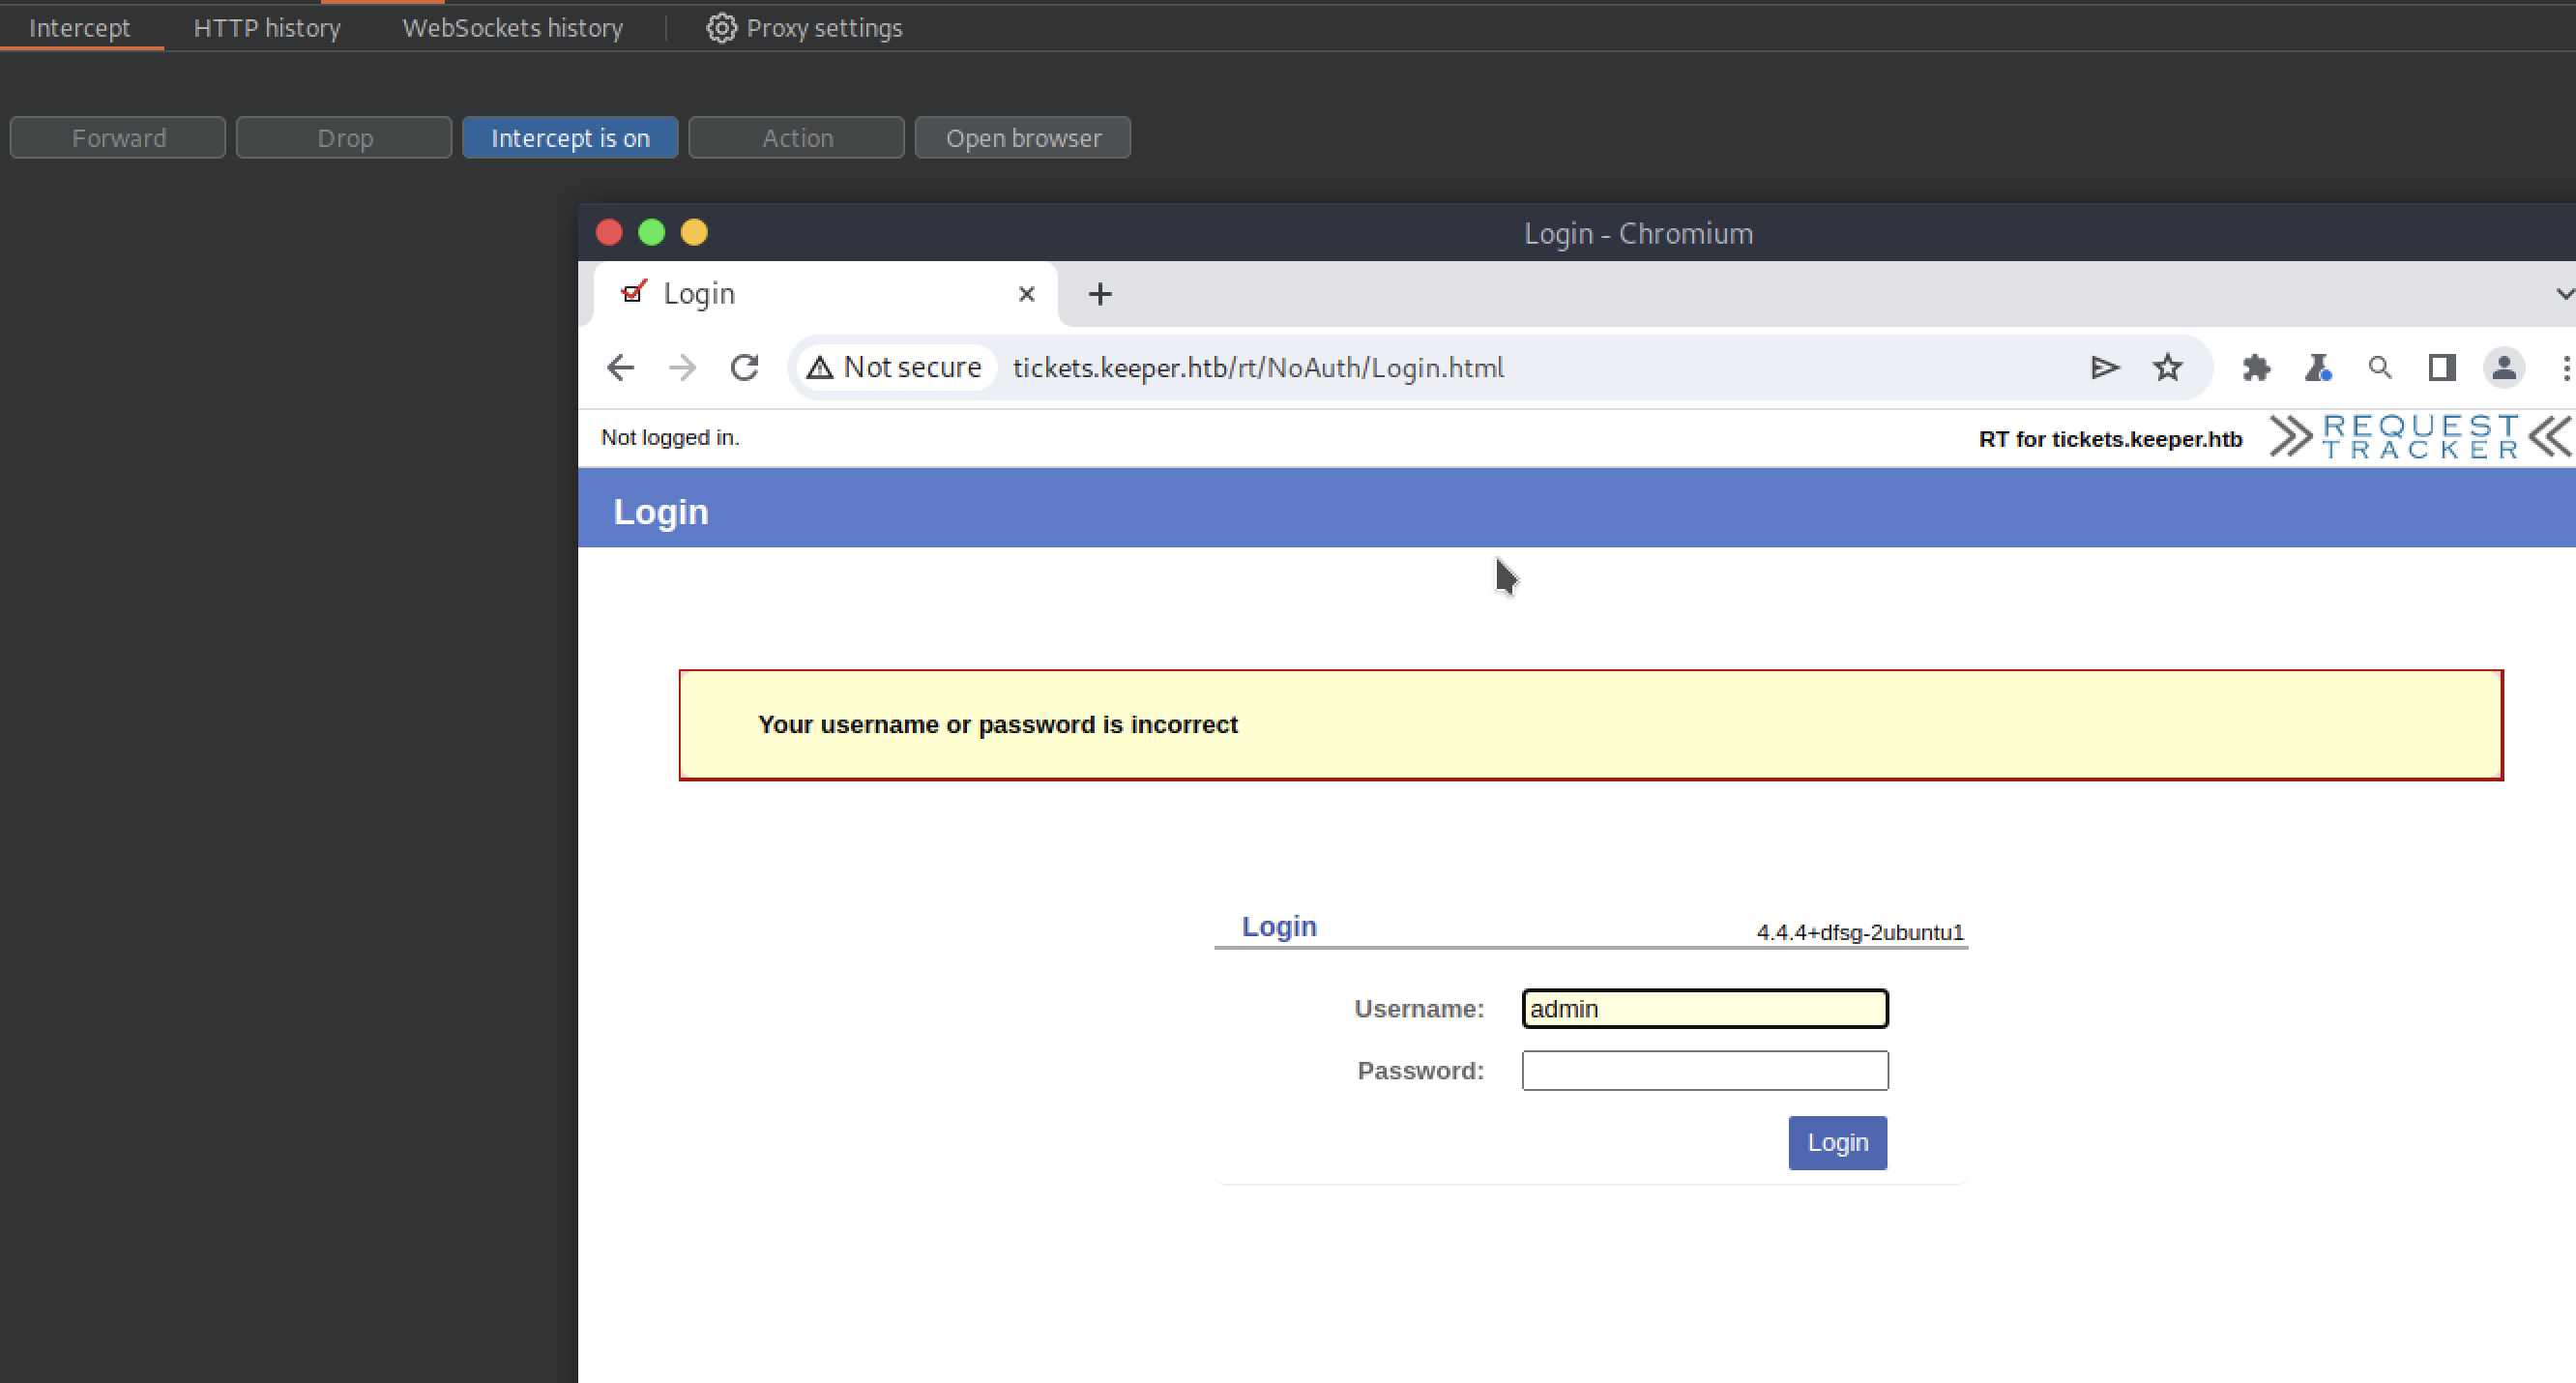
Of course, the login information is wrong.
Yet even this gives us one more piece of information: “Your username or password is incorrect”.
This phrase will be one of the parameters that we will go to Hydra to specify. This tool will make multiple attempts and continue if it comes across this phrase.
To sum up, we now know what parameters to feed to Hydra and using the most common list of users and passwords we will be able to try the brute-forcing attack.
Let us therefore try this command:
1
hydra -L '/usr/share/seclists/Usernames/top-usernames-shortlist.txt' -P '/usr/share/wordlists/rockyou.txt.gz' tickets.keeper.htb http-form-post "/rt/noAuth/Login.html:user=^USER^&pass=^PASS^&next=e02d4fc263a2d8c8d9e28880494594d5:Your username or password is incorrect"
Where
-Ldenotes a file with a shortlist of the most commonly used usernames in it.-Pcontains the path to a database with thousands and thousands of passwords, common and uncommon.
And then the rest is about the POST request that Hydra is going to make until it has found acceptable login data.
And it is done.
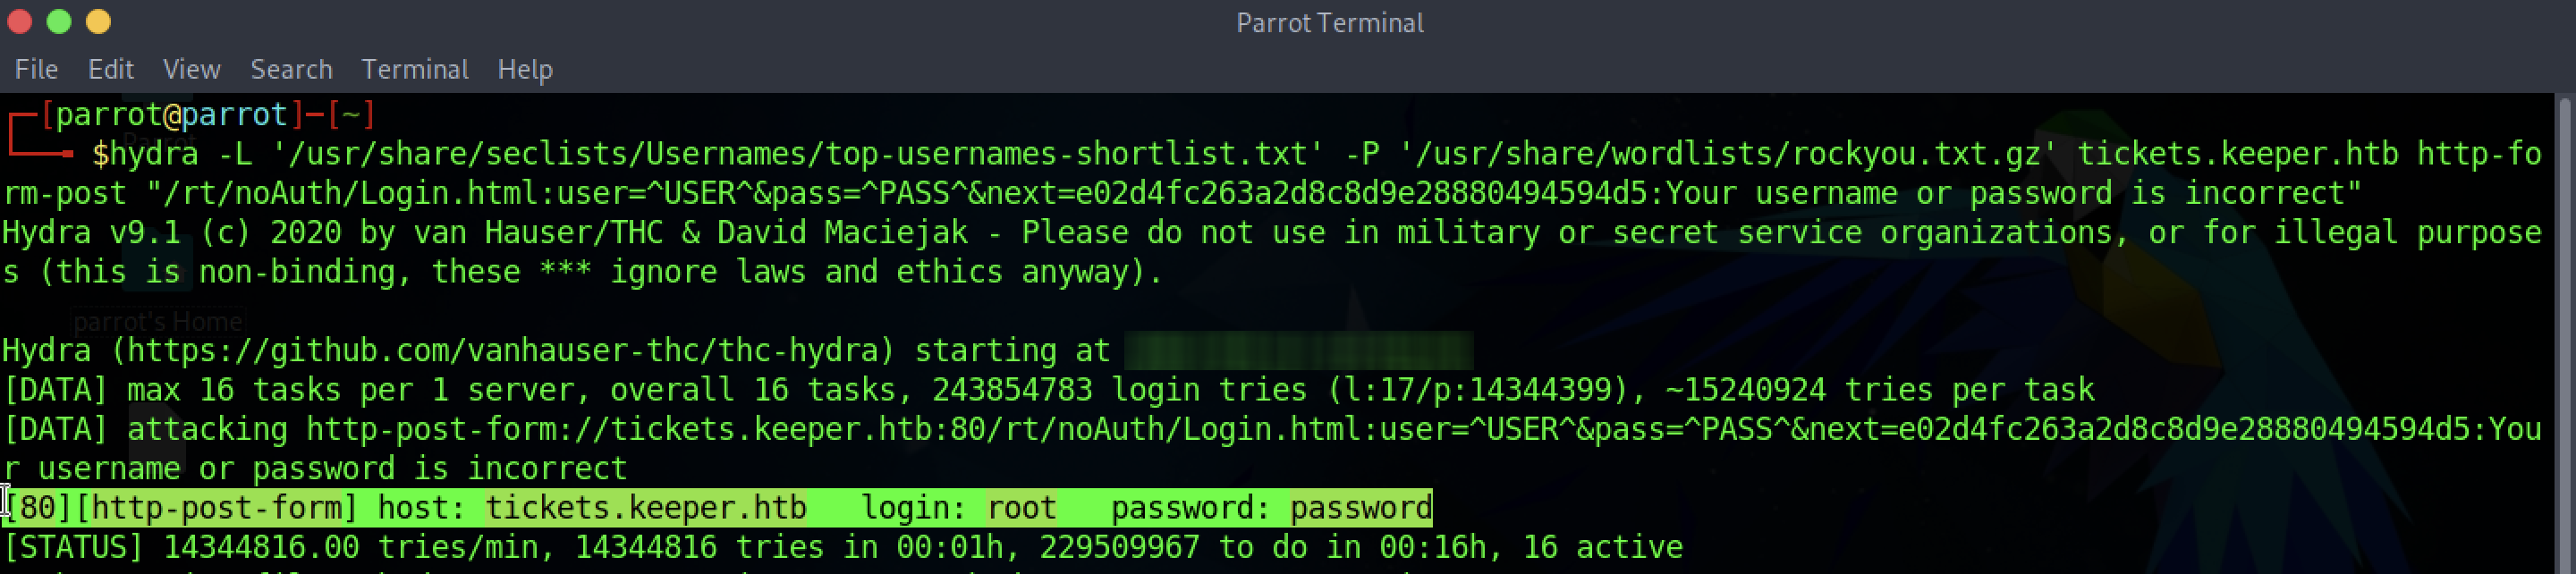
Obvious that the focus of this CTF was not the login for the platform. It does appear that, according to Hydra, the username root and password password allow access to the RT.
We have root access to the manager. Simple, not bad at all!
Inside Request Tracker
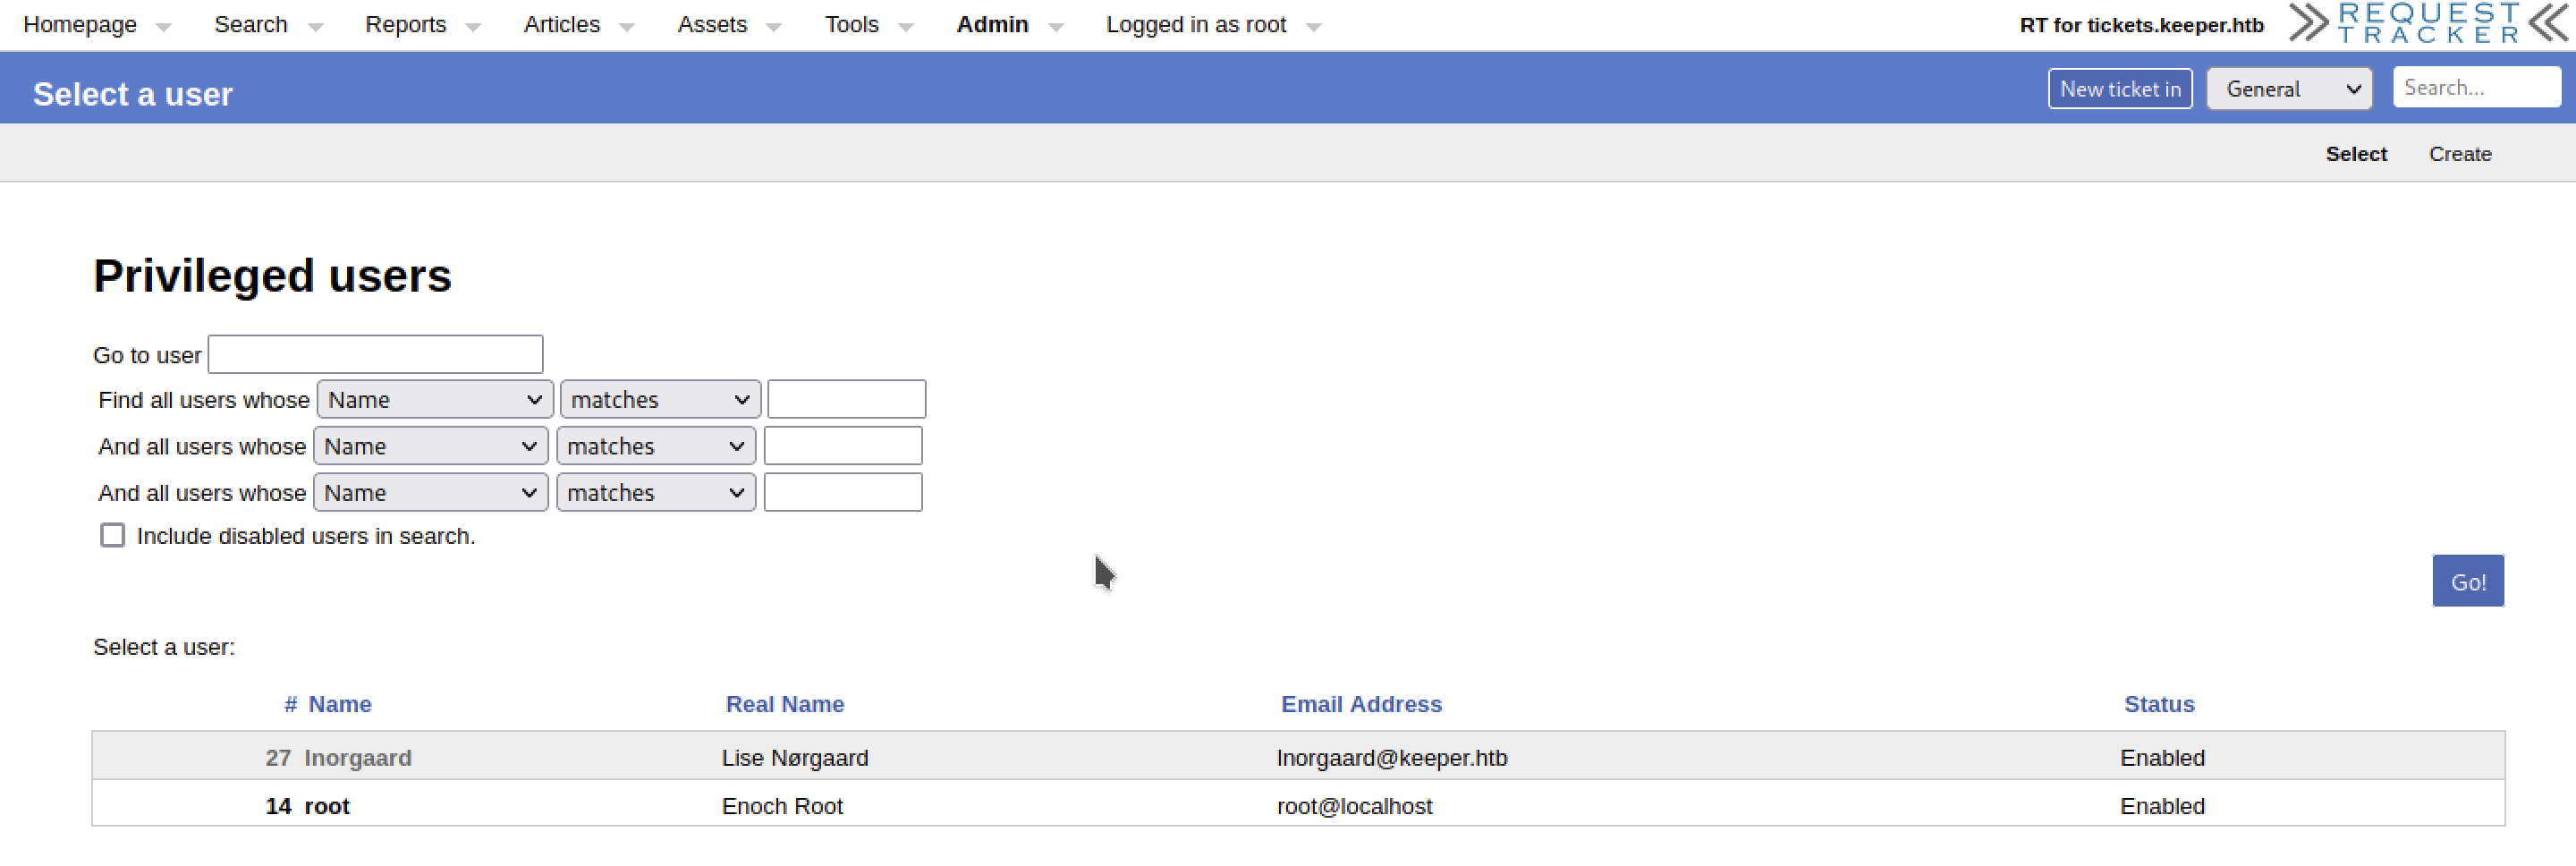
There are lots of settings and “wandering around” I notice that there are two users:
 .
.
In particular, it is very likely that the account lnorgaard@keeper.htb will be used to access the server. We can’t do any testing, though. Still we need a password.
Digging and digging further within this site, we find some interesting information, but of all it stands out:
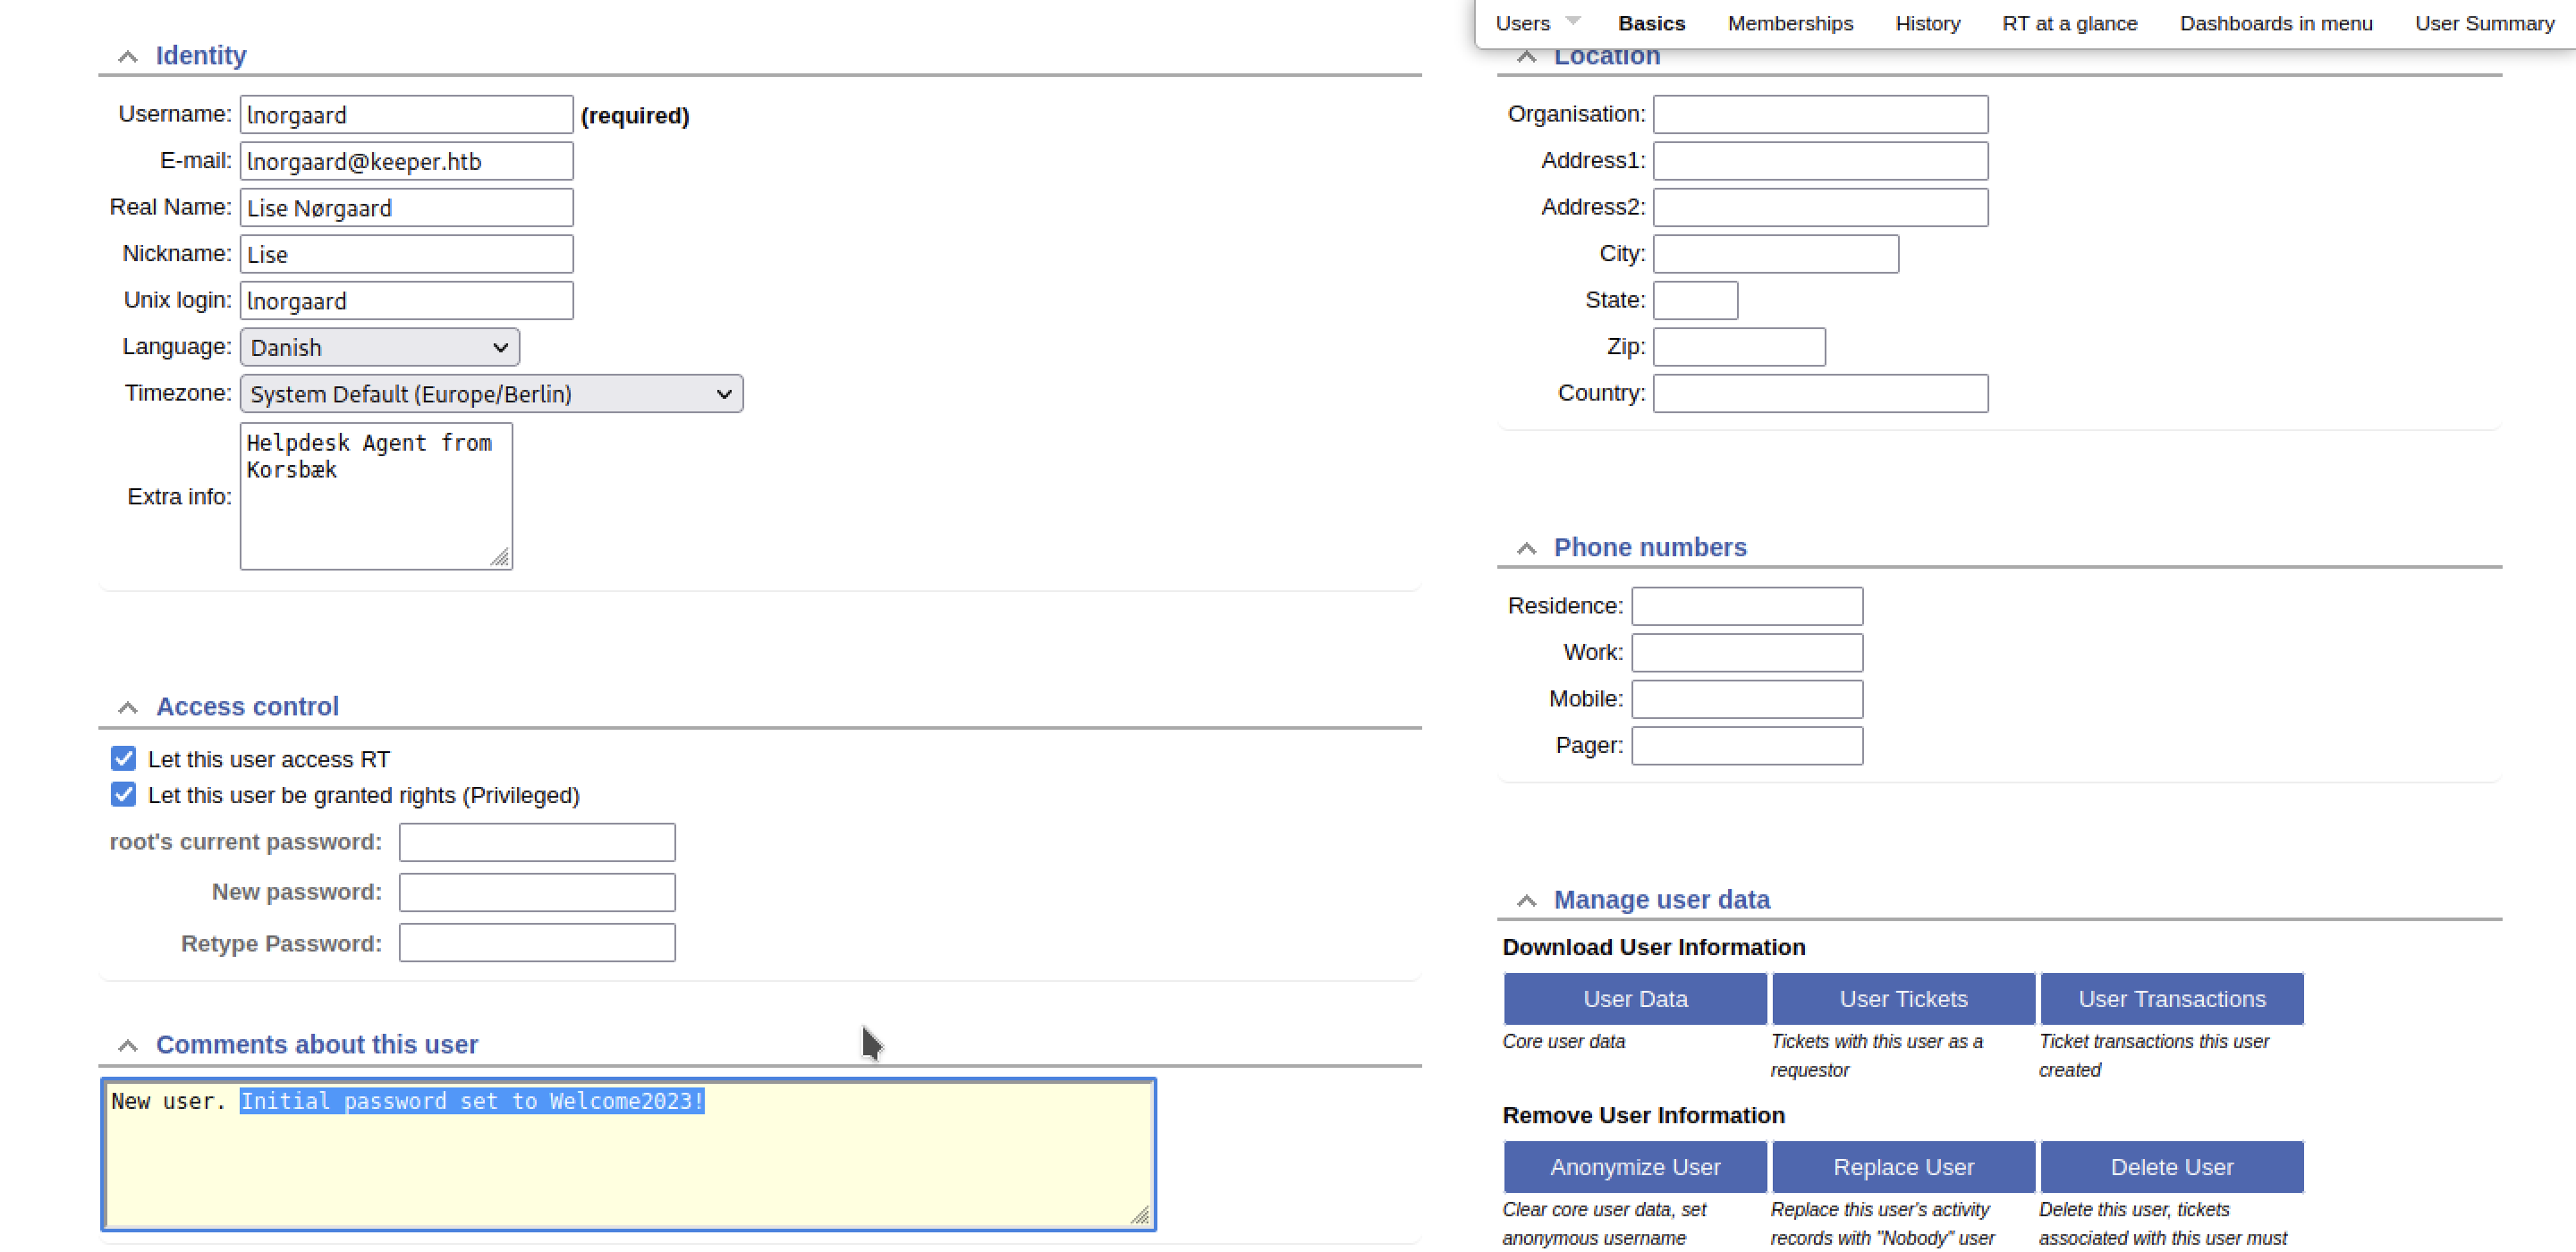
Well yes, it does appear that we have a password: Welcome2023!
First try?
All that remains is to try to access the server with this data:
- user: lnorgaard@keeper.htb
- password: Welcome2023!
Here we go, we may have found the first flag.
1
ssh lnorgaard@keeper.htb
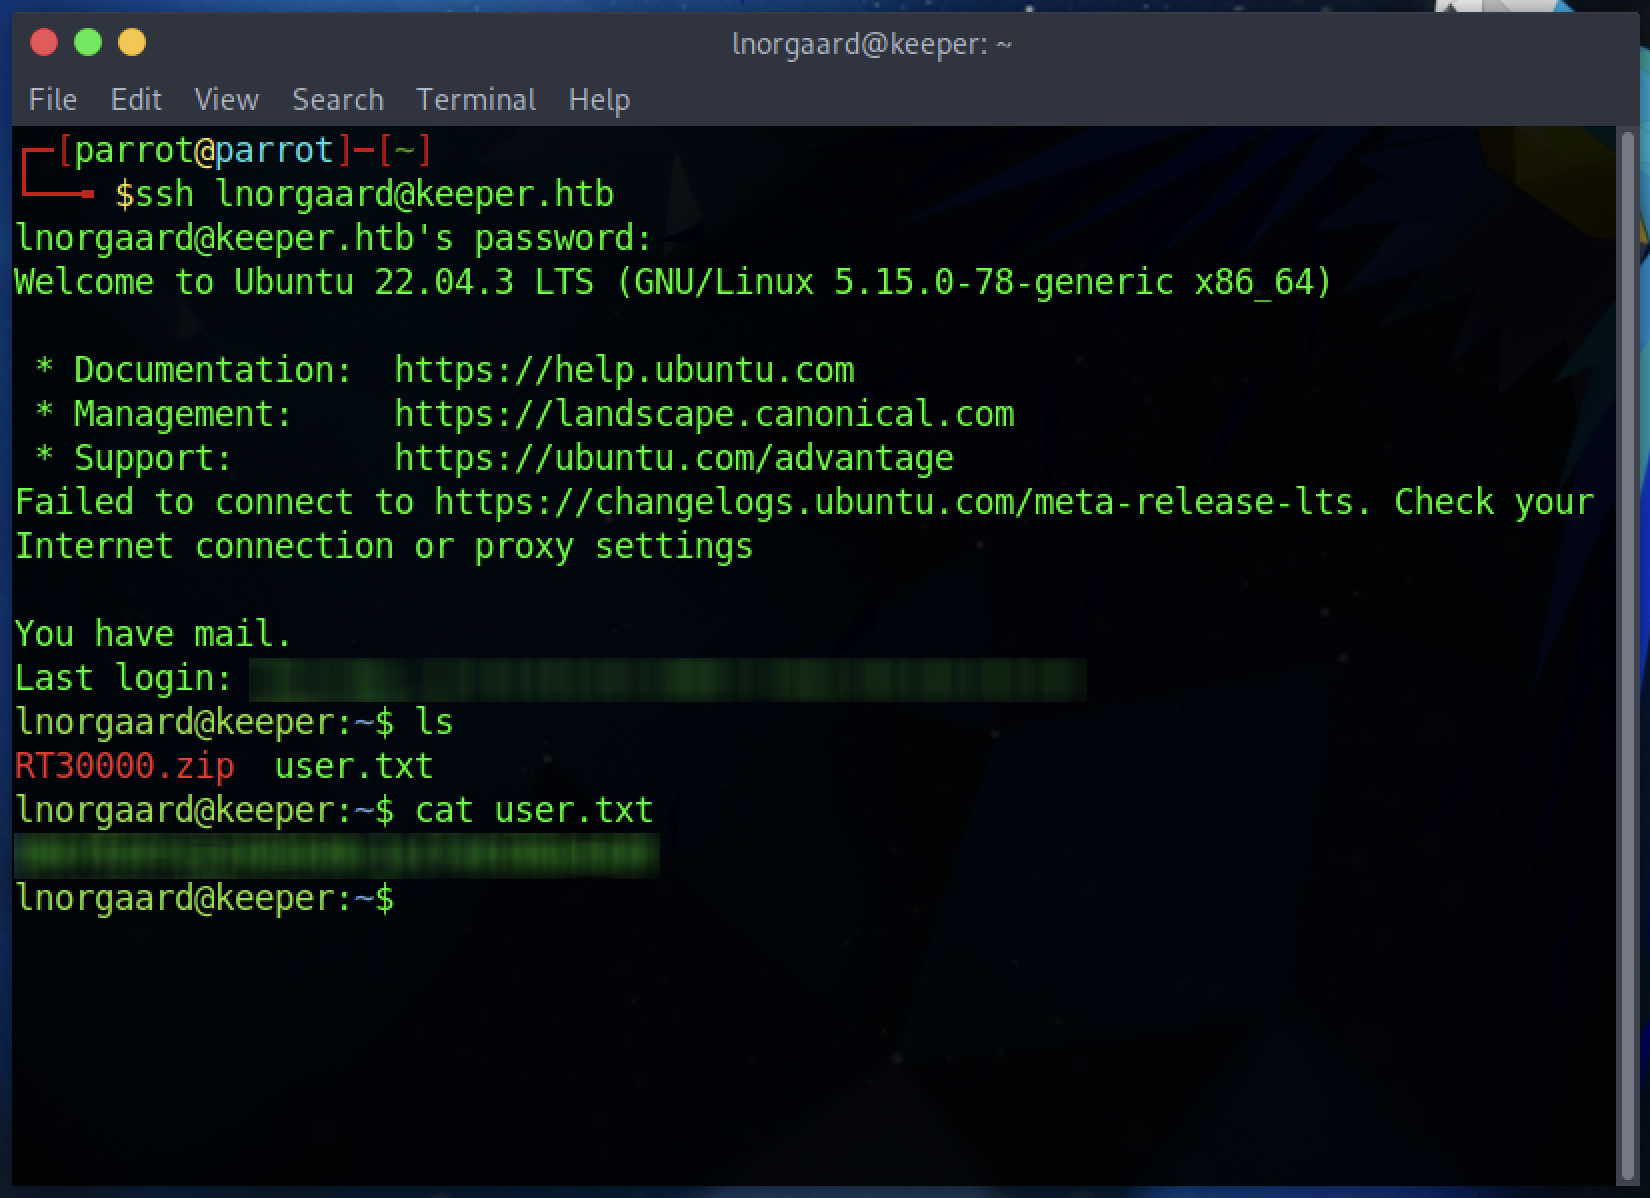
And that was it, we found the first flag! Easy enough, right?
It is not over yet
Somehow the machine’s root account needs to be accessed. There are no notable vulnerabilities however within the lnorgaard directory there are two additional files:
 .
.
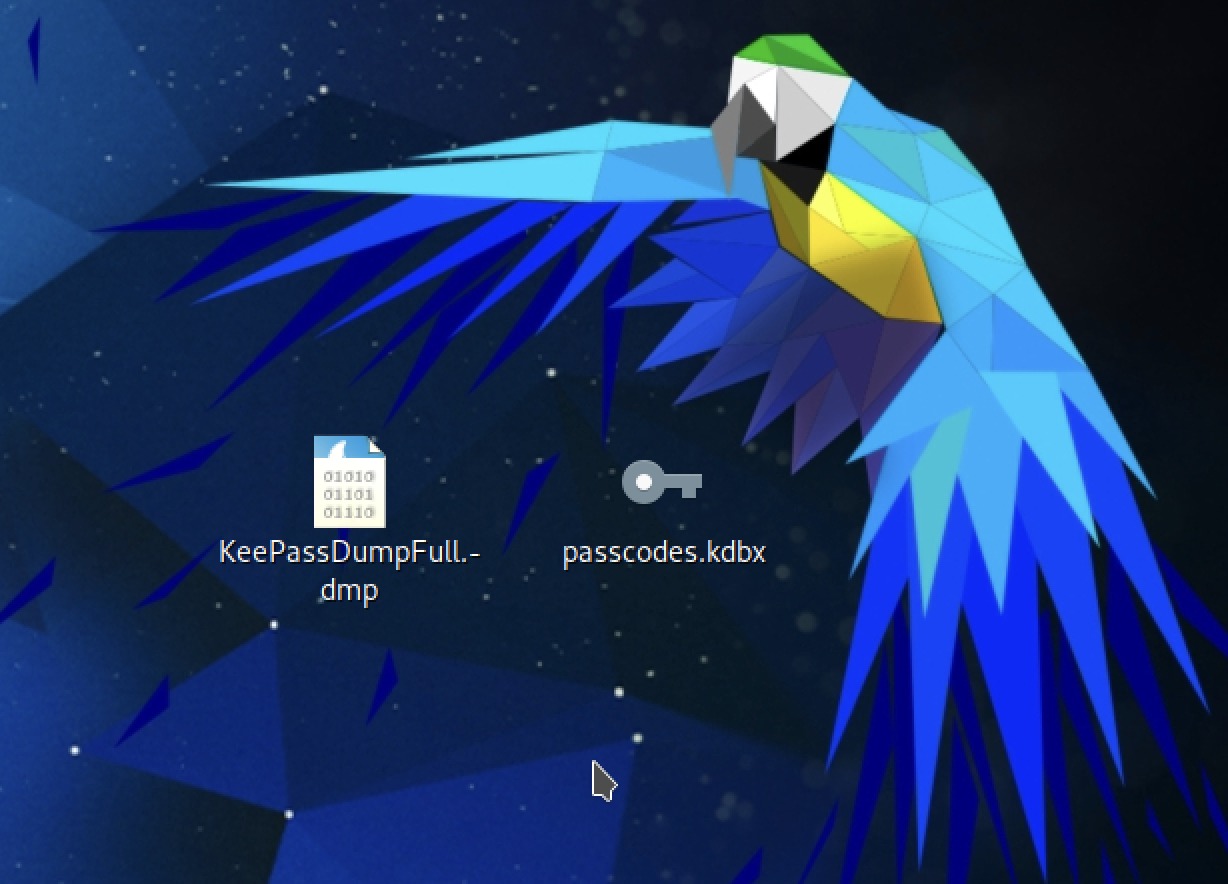
Doing a brief search KeePassDumpFull.dmp, as the file itself suggests, appears to be a “full dump” of a KeePass database. KeePass is an open source password manager useful for managing a multitude of passwords.
passcodes.kdbx and specifically .kdbx is the encrypted file inside which sensitive data (usernames, passwords, notes, etc…) are stored. It uses the Argon2 password-hashing function, there is not much hope to crack it.
The only hope (and the only clue we have) to access this file is indeed KeePassDumpFull.dmp. Fortunately doing another Google search I manage to find a very very interesting piece of news: it seems that in KeePass <=2.54 there is a CVE that can let me retrieve the master password from a memory dump (as in our case).
“In KeePass 2.x before 2.54, it is possible to recover the cleartext master password from a memory dump, even when a workspace is locked or no longer running. The memory dump can be a KeePass process dump, swap file (pagefile.sys), hibernation file (hiberfil.sys), or RAM dump of the entire system. The first character cannot be recovered. In 2.54, there is different API usage and/or random string insertion for mitigation.”
This is great news! We only need to find someone who has created a PoC and we could get our desired password.
I originally found this PoC: https://github.com/vdohney/keepass-password-dumper
The problem? Written in C#, it only works in the .NET environment and I had some difficulty installing the .NET ecosystem on ParrotOS so I preferred to look for other portings, perhaps written in C or Python.
A little more searching and I finally find the porting on Python: https://github.com/CMEPW/keepass-dump-masterkey
I would say it is time to try it out:
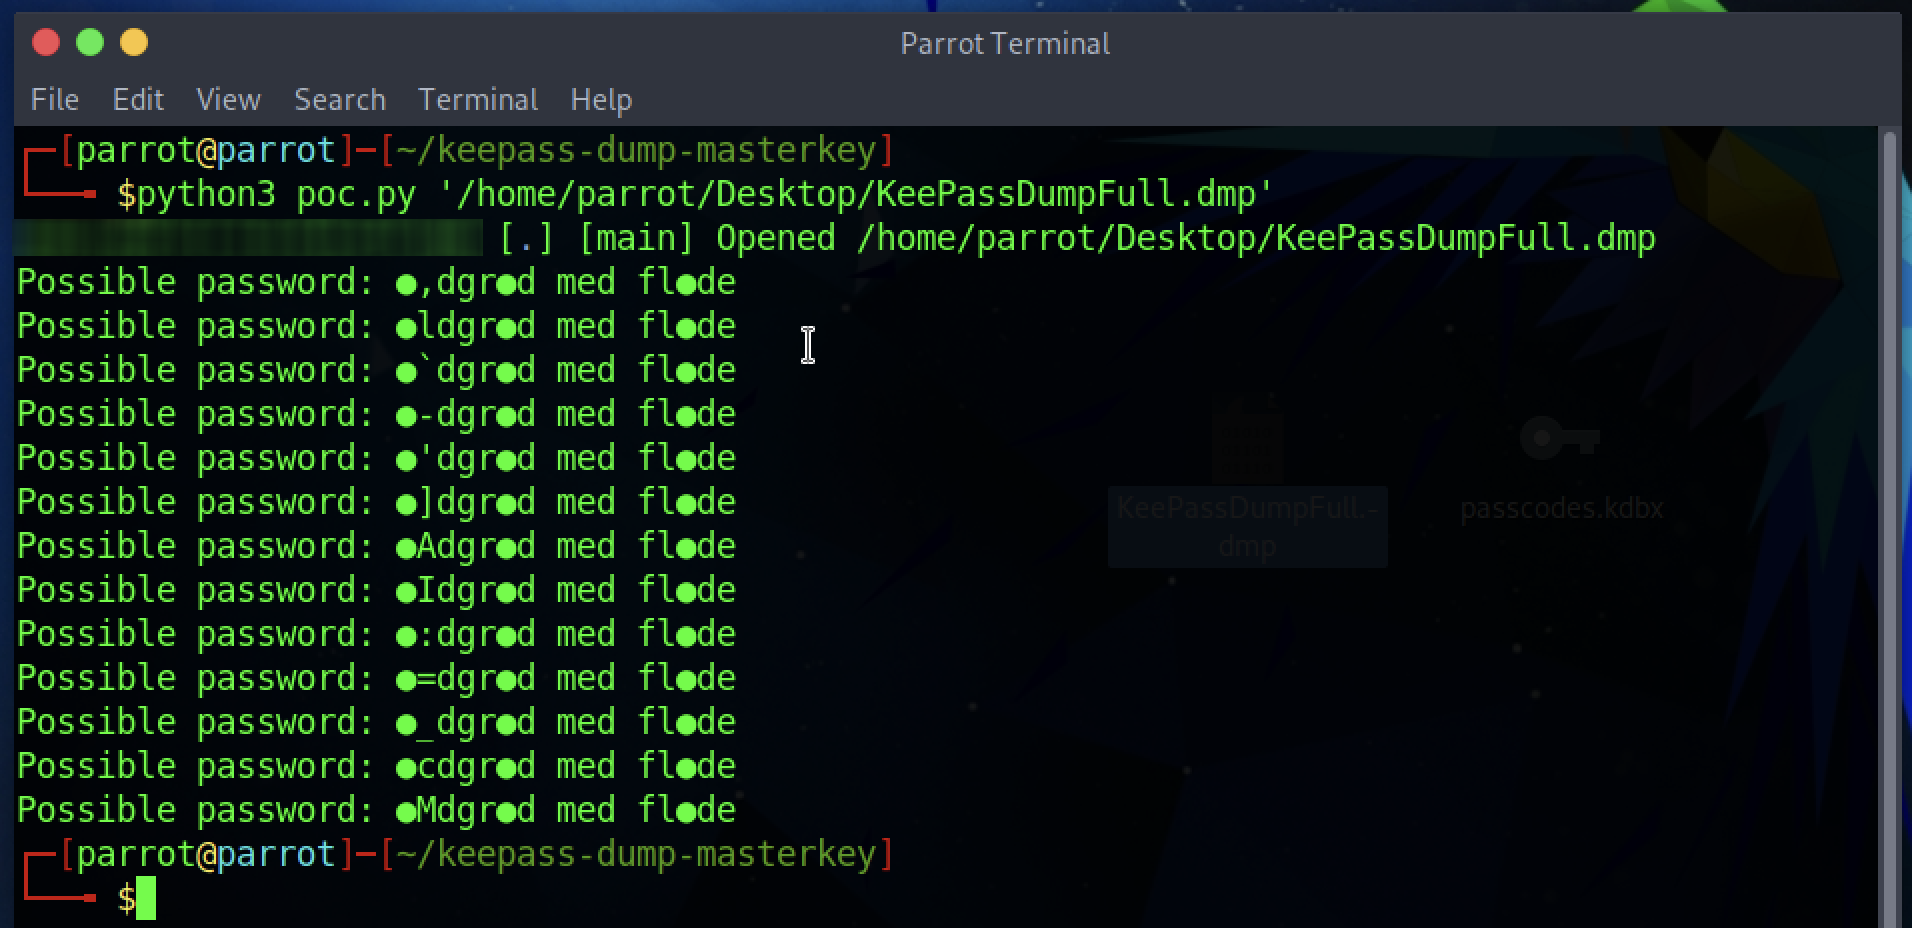
It worked, and as anticipated in the CVE description, some characters (like the first one) cannot be retrieved, so there is not much to do beyond that. Yet we have most of the characters in this, plausible, sentence: ●Mdgr●d med fl●de
Let’s try Googling all the combinations!
In the end, though still in doubt, only of one combination did I get a satisfactory result:
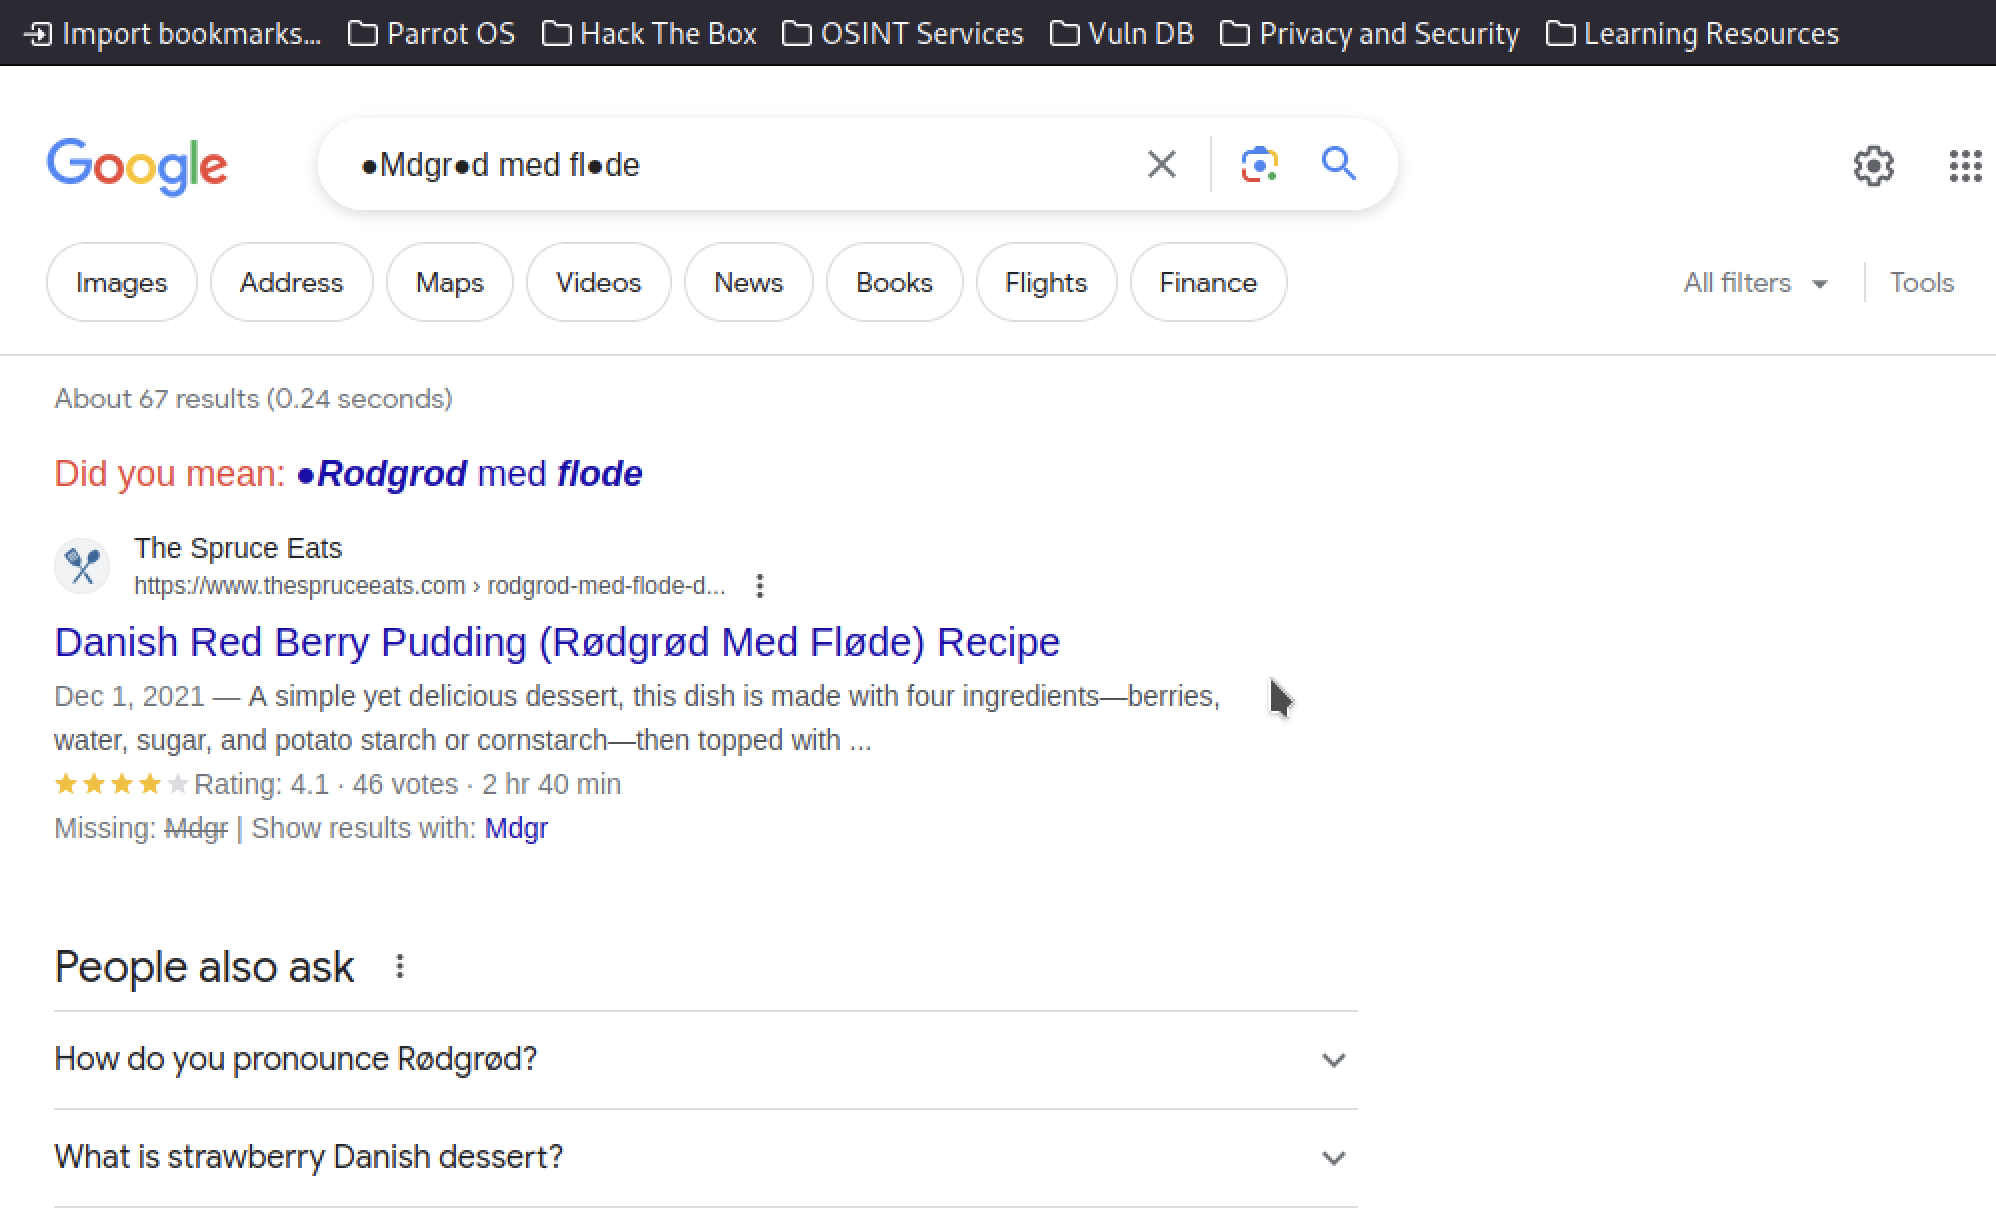
It seems that the dessert name “Rødgrød Med Fløde” is an ideal candidate for our KeePass DB.
All that remains is to try to open passcodes.kdbx with this potential password or further combination thereof. To do this one can either install the official client or KeePassXC via apt:
1
sudo apt install keepassxc
I try “as it is” and it doesn’t work; I try lowercase initial letters and it worked!
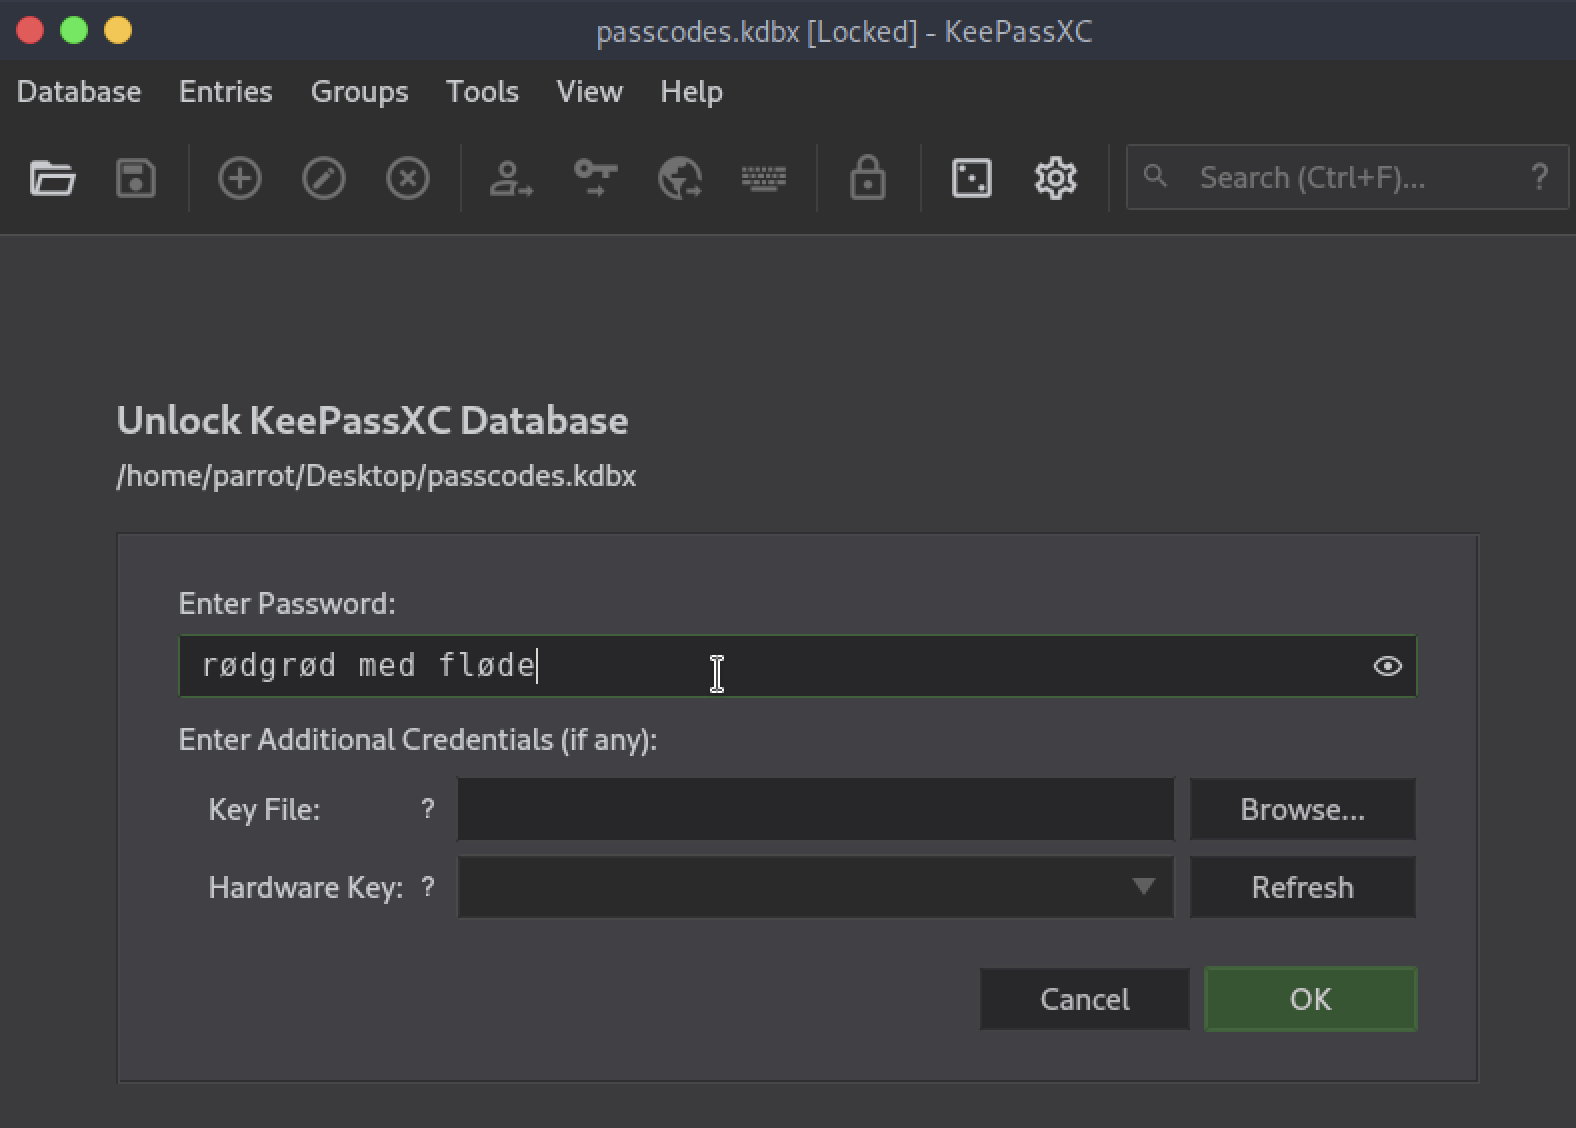
We decrypted the .kdbx file.
Surprise!
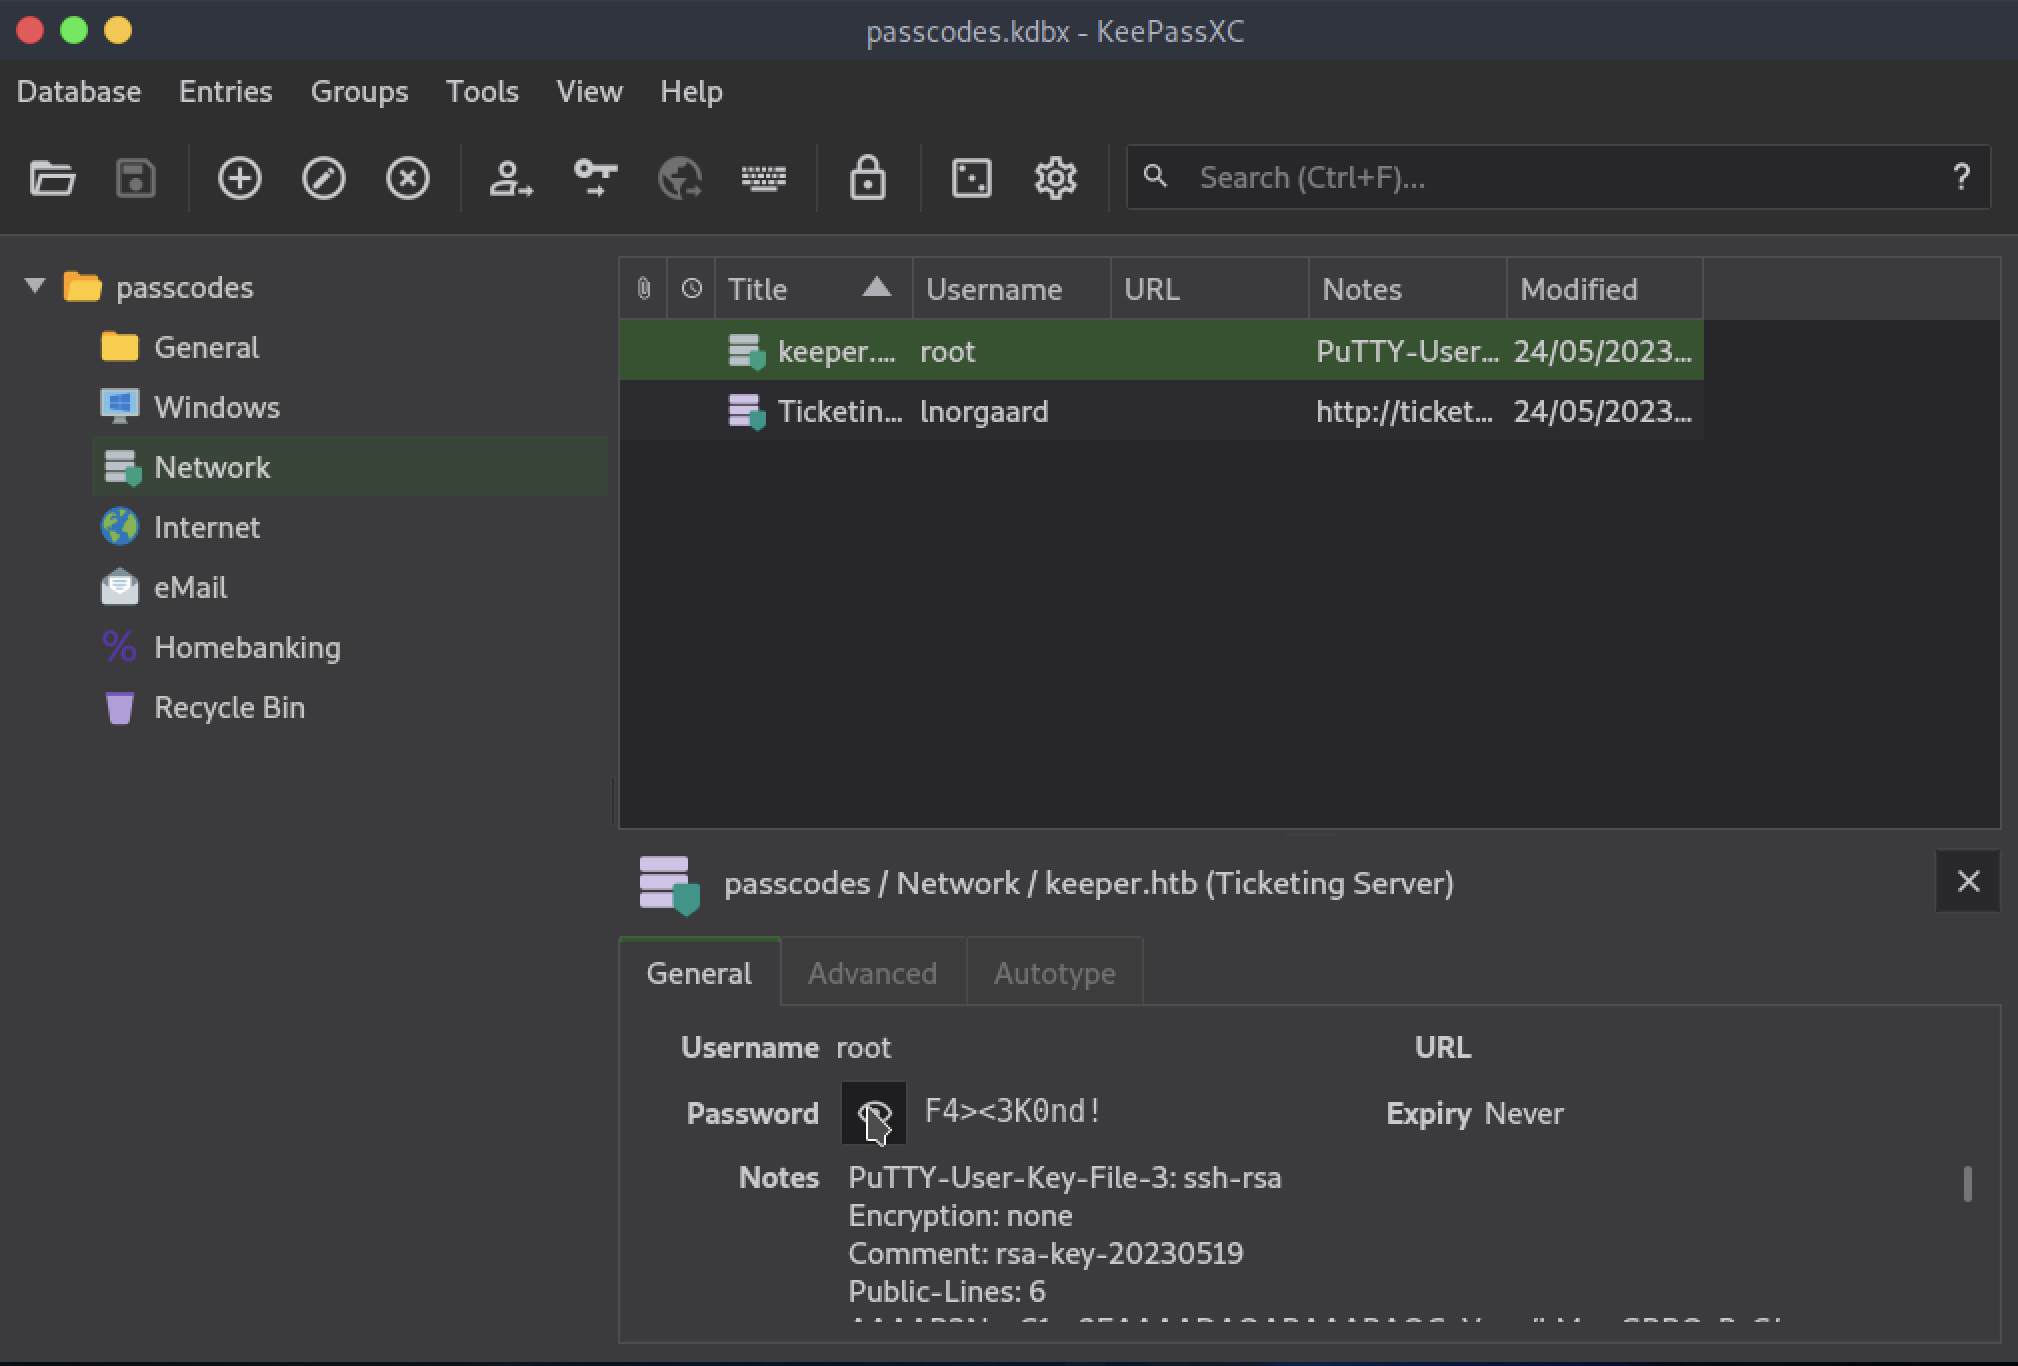
Looking inside the database, in the Network tab I find what I was looking for, the password for the root account!
 .
.
I immediately run:
1
ssh root@keeper.htb
Enter the password “F4><3K0nd!” and… it doesn’t work. It is incorrect. Something is wrong, I missed something. And, in fact, something I really missed! If I examine the “Notes” section more closely, I actually find details of what appears to be an SSH key, generated somehow by PuTTY.
Reading around the web I find that there is a tool in the PuTTY suite called PuTTYgen that allows me to create SSH keys.
So, in the notes, I have an SSH key generated by PuTTYgen but not in the format that would allow me to access the server.
I need a .pem key not a .ppk key.
Investigating further I understand that through PuTTYgen I can export the key in the format I am interested in.
So, I create a file, key.ppk with the contents shown on the Notes section in it, then I open a terminal window and, to get this tool, immediately type:
1
sudo apt install putty-tools
Installed, in the same directory I run the command:
1
puttygen key.ppk -O private-openssh -o root.pem
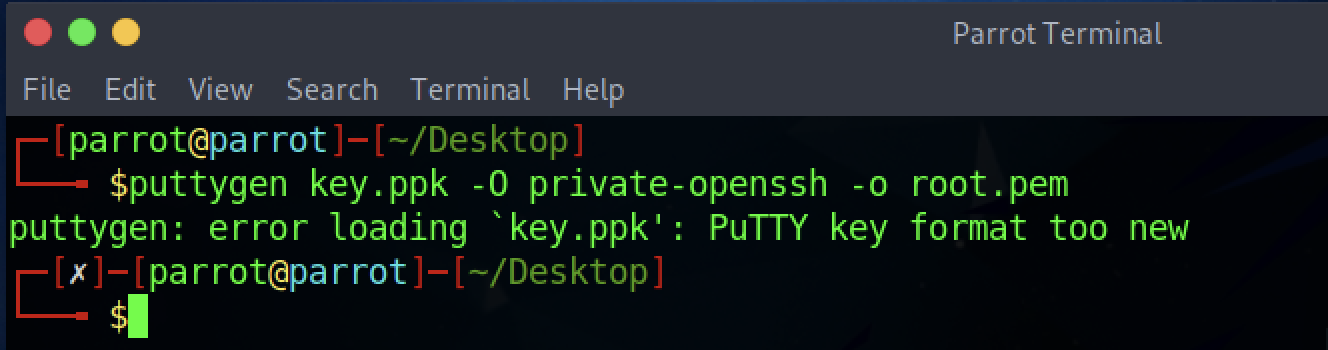
It doesn’t work, the key format is “too new”. So I try to figure out what the problem is by doing the usual Google search. I find this thread on superuser.com and see that a GUI is used to do the conversion from one format to another, but I don’t have a GUI available. Reading all the comments though, I realize that a more updated version of PuTTYgen (the 0.75) is able to do the conversion without any problem.
I have the default 0.74 version installed on ParrotOS.
Surprise!
The only solution is to head to the PuTTYgen website and manually compile the 0.75 version.
So, basically:
1
2
3
4
5
wget https://the.earth.li/~sgtatham/putty/0.75/putty-0.75.tar.gz
tar -xf putty-0.75.tar.gz
cd putty-0.75/
./configure
make puttygen
And so I got my executable, PuTTYgen v0.75. At this point, we repeat the same step we followed just now:
1
puttygen key.ppk -O private-openssh -o root.pem
And I got the root.pem key! All that remains is to try it and get the flag.
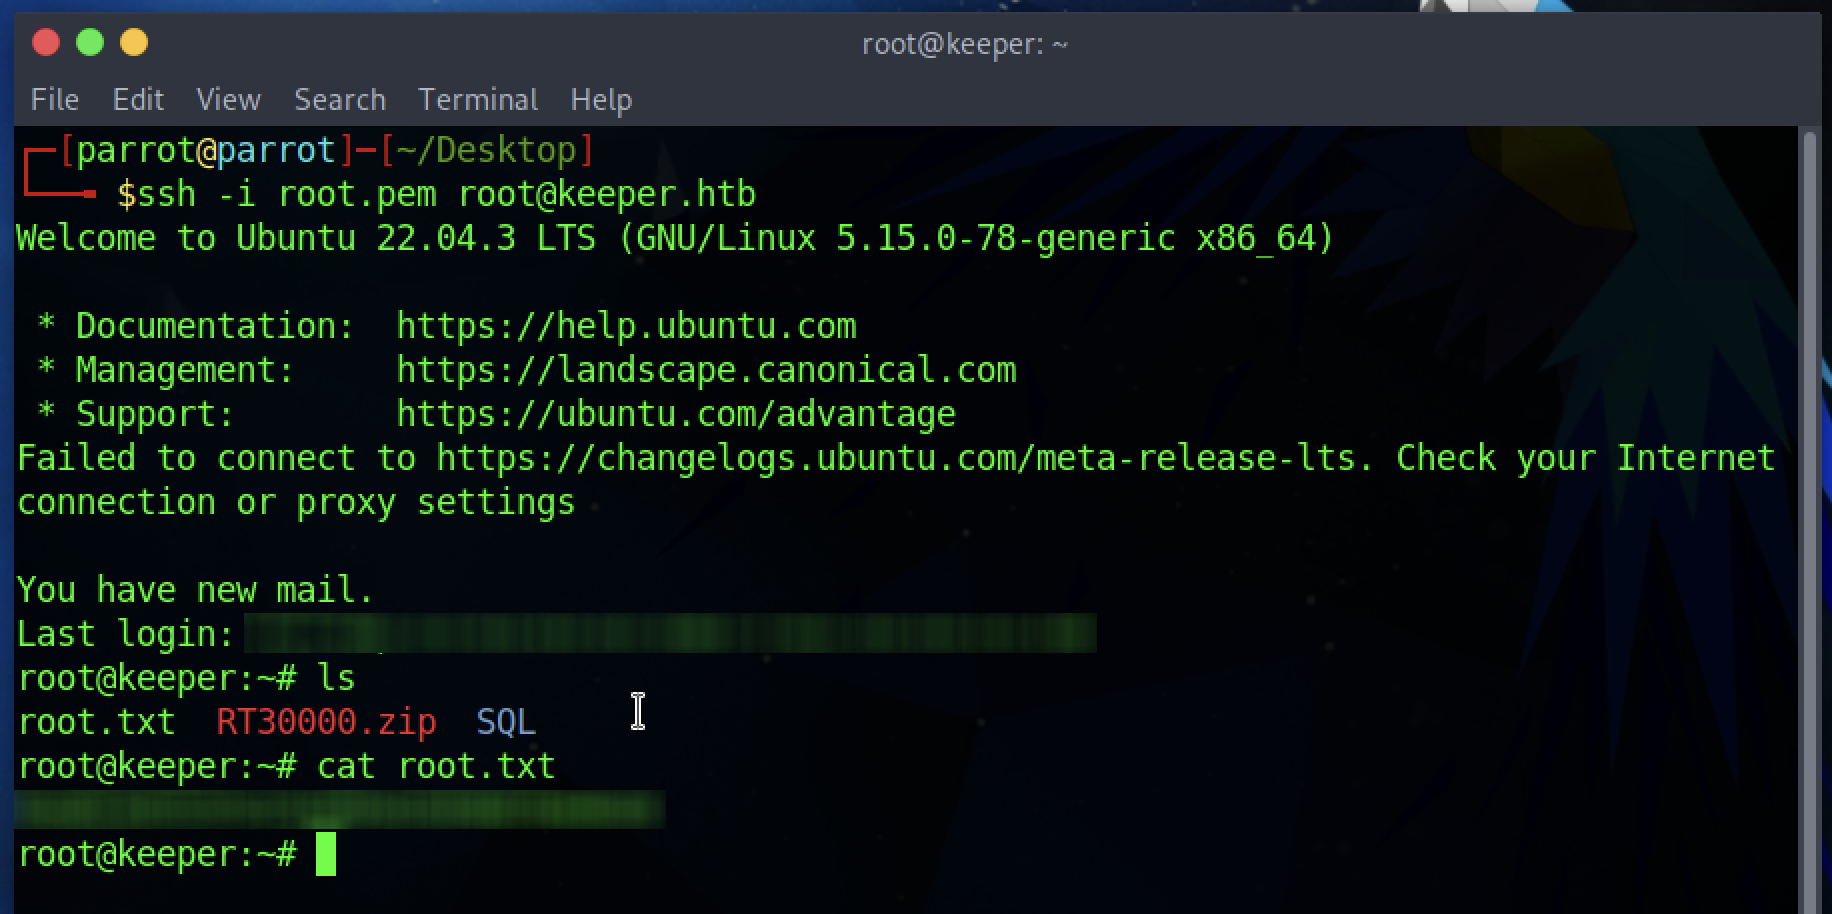
That’s it, we’re done. We got root access and got the flag. Keeper has been pwned.
Conclusion.
It took me two hours to finish this CTF. For the first (real) time, I don’t think it went badly. But it was not easy. I hope it was an interesting walkthrough!